

Secret Garden Hexie Quilt

Quilt Size: 38" x 49"
The Secret Garden Hexie Quilt is a perfect first English Paper Pieced (EPP) Quilt, and is a great project for kids and adults alike! I made this one with my 9 year old and 12 year old. Kids this age usually have great fine motor skills, and can learn each step well. My 6 year old helped in fits and starts and needed help at each step.
Secret Garden is a small lap or baby-sized quilt to make it really achievable. The pattern/tutorial below includes lots of colour photos and short videos to clearly explain each part of the process, with tips for beginners or those working with kids.
English Paper Piecing is great for evenings in front of the TV or fireplace, or for keeping hands busy during story time, or distance learning! Feel free to take your time. Keep prepared shapes easy to access so you can stitch in little moments. If you’re helping kids make this quilt, keep in mind that they don’t have to do each step alone. Each time my kids ran out of puff, I kept stitching on my own for a while. I noticed their motivation always increased when they felt like they were making progress. But we gave ourselves a deadline - you don’t have to! Relax, don’t rush, keep your expectations in check, and you’ll start to improve and find a good groove together.
Wanna plan out your hexies rather than sew them together at random like I have?
Here’s a colouring in sheet for you to play with!
What you'll need to make your Secret Garden Quilt:
English Paper Pieces:
(176) 2” hexagons. A Big Box of 2" Hexagons in the shop will cover it, or you can print and cut out the printable ones below!
(12) 2” half hexagons. I would just cut 6 of your hexagons in half, from point to point. These are for the top and bottom of the quilt.
Click here to download the printable hexagon template

Fabric
(46) fat 16ths (these are fat quarters cut into 9” x 11” rectangles) OR (176) fabric scraps at least 4 1/2” square.
57” (a little more than 1 1/2 yards) of fabric for the backing. This is actually less than customary for backing fabric, but it saves SO much fabric. I’ll show you more down the page.
(5) 2 1/2” x WOF (Width of Fabric - usually 42” - 44”) strips for binding (or 1/2 yard)

Additional Supplies
46" x 57" batting (or wadding): I use 100% cotton or a cotton/poly 80/20 blend.
Rotary cutter/mat/ruler: If you’re new to quilting, I highly recommend these tools! You’ll use them with every quilt you make. But you can easily make most of this quilt without them.
Hand-sewing needles: I use Bohin Milliners, size 9 for EPP. I use size 4 or 5 for hand quilting. You can buy a mixed pack of 3-9 to get a feel for what you like. I like my needles long and skinny.
Thread: I use Aurifil 50-weight thread for EPP and Perle cotton size 8 for hand-quilting.
Glue stick: Grab the smallest glue stick you can find from your local supermarket or office supplies store. I use Bostik 8g sticks, and I buy packs of 4 or 20. I use 3-4 per quilt.
Spray basting glue or basting pins: Ask at your local quilt shop. You won’t need these until the end, so don’t let them stop you from getting started.
Sewing machine and walking foot (for machine quilting).
Iron and ironing board.
Clover Clips: These are the little red clips in the photo to the left, and are really handy for holding shapes together if your quilt top is getting too heavy, and for holding your binding down.
Scissors: Small snips are useful for cutting thread. Larger fabric scissors will be required for cutting quilt fabric if not using a rotary cutter, wadding and backing fabric.
Metric Conversion Chart
1 inch 2.54cm
1/2 yard 45.72cm
1 yard 91.44cm
Cutting Instructions:

Rotary cutting for beginners: Put some washi tape or masking tape on the edge of your 4 1/2” line, so you can find it easily each time you cut.
Rotary cutting can be trickier than it looks, and dangerous. Make sure you you hold the rotary cutter straight, rather than on a lean, and push down hard. Hold the ruler away from the edge being cut. Move the rotary cutter slowly. Parents helping kids can stand over them like you would to teach someone a golf swing! My kids were around 10 years old when I trusted them to use a cutter safely.
A fat 16th is usually around 9” x 11“, depending on the original width of fabric, and the size of the selvedge, if included. Place the fat 16th on your cutting mat so that the 11” side is running horizontal, and the selvedge, if any, is on your right. Cut a line at 4 1/2”. Flip it around and cut at 4 1/2” again.
Cut another 4 1/2” x 9” rectangle from the remaining piece, and then cut it into (2) 4 1/2” squares.
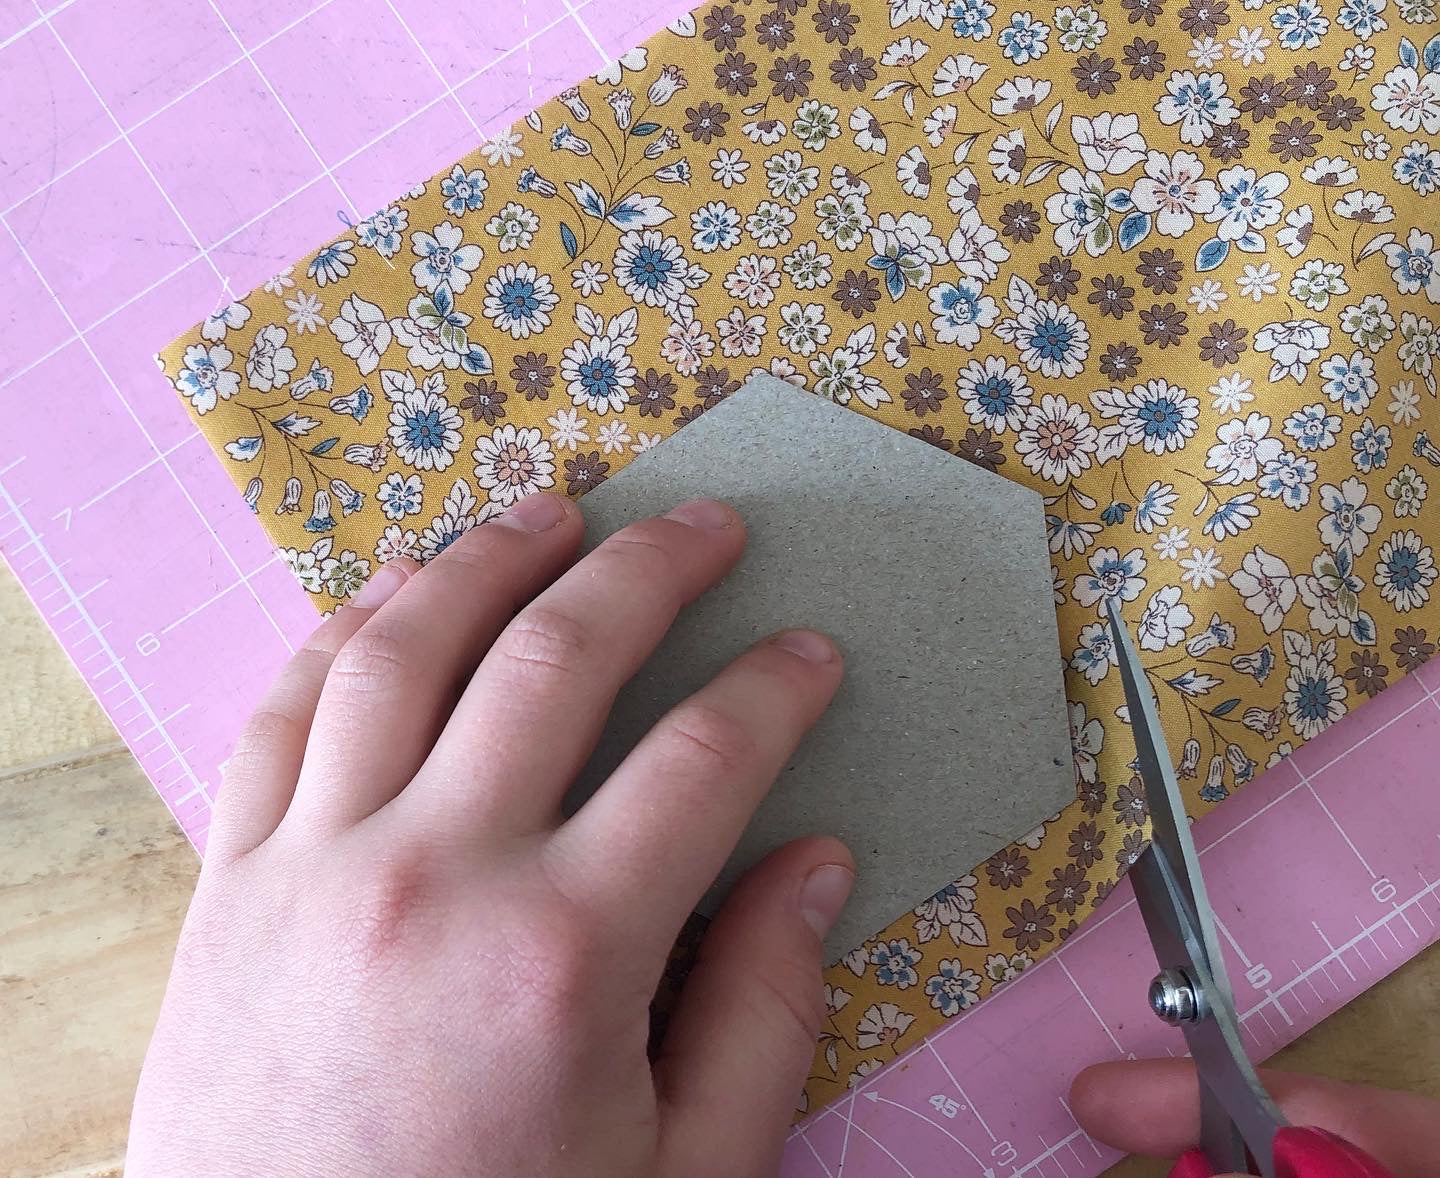
If you’re working with kids or don’t feel comfortable with a rotary cutter, you can mark the lines in pen or pencil, and cut with scissors. Alternatively, you can cut an approximate 3/8” (1cm) seam allowance around the hexagon with scissors.
Don’t forget! Your seams or cutting lines don’t have to be perfect for EPP! The paper template keeps your fabric to the right size for you.
Hexagons: Cut (176) 4 1/2” squares in total.
Half hexagons: Cut (12) 2 1/2” x 4 1/2” rectangles
Sew the Quilt Top
1. Place a hexagon in the centre of a fabric square. (Dobbing a little glue to hold it in place can be helpful!)
Tips for basting: I broke this step down and got my six year old to dob each hexagon and centre it on a square. It was great to watch her improve quickly to get the hexagons right in the centre! Any that were a bit off, I just quietly peeled off and adjusted. ;)
Watch the video to see how much glue I use. I just move across the side once or twice. If you can, lean away from the edge. Too much glue on the edge of the paper makes it trickier to sew through because glue gets stuck in the fabric fold.
It can be handy to do a trial run - glue baste a few hexies, wait a little to dry, stitch, and then see if you can peel the fabric off. If the paper is coming off on the paper, or if it’s too hard to sew to sew through, you’re using too much glue or are too close to the edge.
2. Run a little line of glue down one edge of the hexagon and fold the fabric over to fix it to the paper shape. Turn the shape a little and glue (baste) the following edge. Keep glueing and folding the fabric in place until the hexagon is basted.
3. Baste all your fabric pieces to your hexagons and half hexagons.
Stitching with kids: If you’re happy for uneven stitches, kids can stitch hexagons together from a pretty young age. My older kids were 4 when they first had a go! (my 6 yr old hasn’t yet been keen.) I would thread the needle for them, put a knot in the end or do the first few stitches, and then hand it over. The trickiest thing for them is keeping the thread threaded through the needle. Show your kids how to hold the needle at the eye, so they keep the thread steady.
My 9 and 12 year old can now both thread the needle, and start and stop on their own. They naturally sewed their stitches closer together than I did, but I didn’t correct them. Closer isn’t a problem if they’re happy!
Notes for stitching for beginners: My stitches are generally about 10-12 per inch. Further apart than traditionally taught, but they hold together and wash just fine.
Make sure you just stitch through the fabric folds. If you stitch too deep, you’ll go through the paper and they’ll be harder to remove.
4. Place two hexagons right sides together (this just means the flat sides facing each other, and the backs facing out). Choose a corner and stitch through both pieces. Stitch through the same place a few times, and in the last stitch, put your needle through the loop before pulling the thread tight. This creates a knot.
5. “Whipstitch” (see video above) along the edge of the hexagon. Create the same knot at the end also. Snip the thread.
6. Repeat with a second pair of hexagons.
Note about layout: For this quilt, I get you to sew the hexagons together into ‘diamond’ blocks before creating rows. You could, if you preferred, lay your pieces out, decide the layout, and sew the hexagons into rows immediately. But my favourite part of English Paper Piecing is sewing blocks. They are smaller in your hand, easier to transport, and you can enjoy the peaceful fun of choosing fabrics that you like together.
7. Sew the two pairs of hexagons together to make a diamond like shape. The easiest way to find the two seams to sew together is to lay the pairs next to each other, and then flip the second pair over the first, keep the seam aligned. (see video above!) Once you get to a corner, stitch a couple of extra stitches in the corner, and then line up the next two edges to sew together. (see video below!)


8. Make (36) diamonds, (6) triplets by just adding a single hexagon to a pair, and (7) pairs. Set the (12) half hexagons aside for now.
9. Sew (6) diamond blocks into a column. Add a triplet to the end of the column. Make 6 columns.
Note for stitching with kids: My kids really enjoyed sewing the columns together, and got the hang of folding the hexagons to join the next seam really quickly! Once we were up to sewing the rows together, however, they quickly lost interest. By this stage the quilt is getting heavy and trickier to wrangle. So I sew the columns together in pairs, and then handed it back to them to take the middle papers out.
10. Make a final column from the (7) hexie pairs sewn end to end.
11. Lay your columns out in a way that creates a pleasing balance of colours. Number your columns or snap a photo for reference.
12. Sew your columns together one at a time, and remove the papers once a row is completely surrounded. Doing so as you go makes the quilt a bit lighter to handle for sewing subsequent rows.

13. Sew the half hexagons into the gaps at the top and bottom of the quilt. (I like adding these bits till last because they create an extra opportunity to spread colours out and create balance with quiet or loud fabrics.)
Finishing your Hexie Quilt
12. Remove any remaining papers from your quilt top.
13. Next you’ll need to press your quilt top. Put it on your ironing board, right side down. All the seams inside the quilt top need to be pressed so that they sit flat on their hexagon shape. All the seams around the outside of the quilt top need to be pulled out and pressed away from the quilt top. These outside edges will be the part that the binding attaches to.
Tip for beginners: Pressing the back of a quilt top is different to pressing a sheet or shirt. You’ll need to lift the iron over and over, placing it over the seams and holding it for a second, rather than holding the iron down and moving it around.
This is my 12 year old in the video - a total pro!
14. Next, flip the quilt top over and iron it again - a great job for a 6 year old! (with help and supervision, of course!)

15. Your quilt top will be a few inches narrower that the typical length of fabric. Let’s run with that, rather than piece something wider! (traditionally, you make the quilt back at least 4” wider on each side than your quilt top.) Lay your backing fabric out, and then your place quilt top over it to check that your backing is wider than your top. And then cut your backing fabric a few inches from the bottom edge of your quilt.

16. Press your quilt back and lay it out right side down on a hard floor (if you don’t have a hard floor, you can clean and use an outdoor area, or do these steps in sections on a table). Tape it in place with masking tape.
(Note! We used cotton lawn for our backing. Prints on lawn often show through on the back. Though it doesn’t look like it, our quilt backing is right side down!)
17. Layer the batting (wadding), and then quilt top (right side up) over the backing. Spread out any wrinkles or air gaps.

Notes for beginners: I’ve pictured the spray baste I use above. It’s called 101, and is available readily at local quilt shops. You might also find 505, a good brand. I’ve tried cheaper brands from big chain craft stores and they’ve been completely frustrating!
You’ll need to open your doors and windows before glueing to create good ventilation. Follow the instructions on the can.
If you prefer, basting pins work equally well. They are reusable, which makes them cheaper and better for the environment. You just have to be willing and able to crawl around on the hard floor for a long time!
Basting with glue spray is always easier with 2 people. One on each side of the quilt, grabbing a corner each. Once you get the hang of it, it’s very quick. If you get the kids to help, you may need to mop the floor afterwards to stop your socks sticking to the floor! ;) My 9 year old helped here and did a great job. My 6 year old was keen, but found the spray can too difficult to manoeuvre.

18. Lift the quilt top and batting layer so that they are folded in half, out of the way. Spray the backing half. Bring the batting layer back over the sprayed backing, holding it taut (but not stretching) and gently spread out flat. Now spray the batting half. Bring the quilt top half back over the batting in the same way.
Repeat with the other half of the quilt.
19. Peel the tape up and start quilting (sewing the layers together)!
Note for quilting with kids: We decided to machine quilt our hexie quilt because it’s quick and we were keen to finish by this stage! Because my 9 year old Evie was keen to quilt it, I decided on a quilt pattern that embraced how quilting might look if done by a child. It can take a bit of getting used to, wrangling a quilt inside a machine - learning not to pull or push it through but just guide it.
We quilted in organic lines running horizontally, and used the hexagon edges as guides. I stood over Evie’s shoulder and pointed out the next point to aim for (mid way through the next seam line in front of the machine foot.) When I took over, I made the lines a little wavy to blend in with Evie’s. The result was lovely!

Finishing your Quilt
20. Trim your quilt top with the quilting ruler and rotary cutter. Line up the edge of the stitches with the 1/4” line on your ruler and cut. This method will cut the points off the hexagons on the sides of your quilt, but I prefer this method to adding filler triangles to the side!

 21. Sew the binding strips together end to end using diagonal seams. Press the binding in half wrong sides together.

 23. Lay the binding along the edge of the quilt so that the raw edges are in line with the quilt edge, and the folded side is facing towards the quilt. Leaving an 8" tail of binding (Evie’s pointing at where you start your sewing!), sew the binding to the quilt through all layers, 1/4” from the edge.


24. To miter corners, finish sewing 1/4” from the corner. Turn the quilt 90 degrees, ready to sew the next side. Fold the binding up, and then down towards the quilt. Start sewing again from the edge of the fold.


25. Stop approximately 12" from where you started. Lay both loose ends of binding flat along quilt edge. Where these two loose ends meet, fold them back on themselves and press to form a crease. Using this crease as your stitching line, sew the two open ends of the binding together right sides together.


26. Double check your binding lays flat, and then trim seam to 1/4" and press open. Finish sewing binding to quilt.
Notes for beginners: This next section for hand-stitching your binding down is not the method I usually use. I usually machine sew my binding down, but it’s tricky and requires practice. You can search for tutorials to see if there’s other methods you prefer. I chose this one because I thought it was the simplest, and looks lovely. If you don’t have Perle Cotton like I’ve used here, you can use regular thread.
 27. Tie a knot in your perle cotton, and thread the needle at the other end.
28. Poke your needle under the binding and up through the fabric near the edge and pull. This will hide the knot.
 29. Use a running stitch to sew down your binding. (My kids learned this stitch at school and call it Dolphin Stitch. How cute is that?!) Aim to sew through the binding, backing, and some of the batting, but avoid sewing through the quilt top.
30. I recommend using Clover Clips to hold your binding down for several inches. Once you reach the closest one, move it to the end of the line. It makes the process easier!
31. Once you reach the end of a piece of thread, knot it near the last stitch, and then pull it through the binding, into the back of the quilt. Tug until the knot pulls through the binding, and then trim the excess at the quilt.
32. Enjoy your new quilt! You can machine wash it on gentle, dry it in the shade, or on a cool drying cycle. Quilts make great picnic rugs, capes and cubbies. Make sure you use yours!
Take a photo and share it on Instagram. Use the #secretgardenhexiequilt hashtag so we can all see!


