

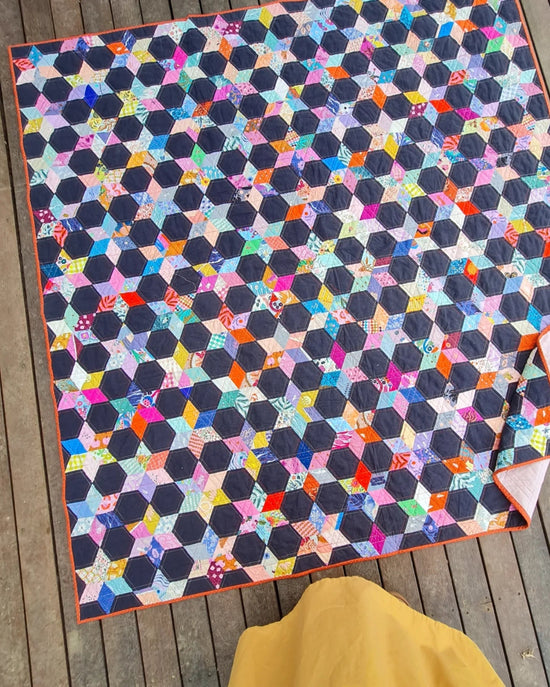
Splashback Quilt - A Free EPP Quilt Pattern
I made this quilt early in my English Paper Piecing (EPP) adventures, and I loved stitching a quilt with a lot of easy, straight seams! Splashback is a free, easy EPP quilt pattern, perfect for beginners. Inspired by the popular herringbone tiling pattern, simply add rectangles one at a time to your ‘braids’ and then sew the braids together!
I made my version using an old Cotton and Steel collection that wouldn't be around anymore, but I think you'll find Spalshback is perfect for using any strip scraps of 2" or wider you might have in your scrap tubs (got binding scraps? Me too!).
This is such a great baby quilt! Mine ended up being gifted to a mum-to-be that didn't know the gender. Even though boys can totally enjoy flowers too, the simple geometric pattern of Splashback is perfect for those after a more masculine design.
If you need some help to get started with EPP, I've created a collection of beginner friendly tutorials to get you started here.
Finished Quilt Size: 37” x 45”

Supplies
ENGLISH PAPER PIECES (download below)
- (258) 1 ½" x 4 ½" rectangles
- (12) 1 ½" half square triangles (for the top and bottom edge)
FABRIC
- (258) fabric scraps at least 2 ¼” x 5 ¼” for rectangles OR (37) 2 ¼” x width of fabric (WOF) strips (you can fit 7 rectangles per strip)
- (6) 2 ¾” squares of fabric for edge pieces
- ½ yard for binding
- 1 ½ yards for backing (This doesn't allow 4" on each side but you can totally squeeze 37" inside a 44" WOF without needing to piece a backing.)
ADDITIONAL SUPPLIES
- 45" x 53" batting
- Rotary cutter/mat/ruler
- Embroidery scissors
- Hand-sewing needles (Bohin Milliners, size 9)
- 50-weight thread (Aurifil)
- Craft glue stick and/or Clover Wonder Clips for basting (see basting tutorial here)
- Sewing machine
- Iron
CUTTING INSTRUCTIONS
Cut a total of (258) 2 ¼” x 5 ¼” fabric rectangles. (If you're using fabric scraps, trim each scrap to 2 ¼” x 5 ¼”. If you're using strips, cut each strip into 2 ¼” x 5 ¼” rectangles.)
Squares: Cut each 2 ¾" square in half on the diagonal.
Binding: Cut (5) 2 ½” width of fabric (WOF) strips.

STITCHING THE HERRINGBONE BRAIDS
1. Prepare all the pieces for the quilt by basting the fabric to the paper templates.

2. Starting at the top of the braid, place one rectangle (yellow one in photo) under, and perpendicular to a second rectangle (black). Flip the first rectangle over so that the shapes are right sides together, and the seam you need to sew is lined up.
3. Whipstitch the shapes together along the seam.

4. Sew the next rectangle (blue) to the bottom of the 1st rectangle, aligning the bottom of this rectangle with the edge of the 2nd rectangle.

5. Then sew the 4th rectangle below the 2nd rectangle, at right angles to the 3rd rectangle. Continue stitching rectangles to the bottom of the braid (see photos) until you have 43 rectangles sewn together.
6. Make 6 herringbone braids.

ASSEMBLING THE QUILT TOP
7. Lay the herringbone columns out, arranging them in an order with good colour balance.

8. To start sewing the columns together, hold the first two columns at the beginning of the seam and flip the second row over the first so that the seams are right sides together and in line. Knot the thread and start stitching, folding and realigning the shapes as you turn each corner.
9. Add the rows one at a time. Take papers out as they are completely surrounded to make it easier to manage the seams.

10. Sew a triangle shape to the bottom left-hand corner of the quilt as shown in the diagram above, and in the crevices at the top and bottom of the quilt.
11. Once the quilt is complete, remove any remaining papers and press the quilt top flat. Press all the internal seams back in place.
12. Open out the seam allowance of the outside edge pieces and press again.
FINISHING
13. Layer the backing (wrong side up), batting, and quilt top (right side up). Baste the layers together. Quilt as desired. The featured quilt was machine quilted with in a chevron pattern across the quilt, ¼” above each row.

14. Trim the excess quilt top, batting, and backing 1/4” beyond the seam line where the papers were.
15. Sew the binding strips together end to end using diagonal seams. Press the binding in half wrong sides together.
16. Leaving an 8" tail of binding, sew the binding to the quilt through all layers, matching all raw edges. Miter corners. Stop approximately 12" from where you started. Lay both loose ends of binding flat along quilt edge. Where these two loose ends meet, fold them back on themselves and press to form a crease. Using this crease as your stitching line, sew the two open ends of the binding together right sides together. Trim seam to 1/4" and press open. Finish sewing the binding to quilt.
16. Turn the binding to the back of quilt and stitch in place.

Ready to make this free EPP quilt pattern?
Click the button below to have the FREE printable paper piece templates and Splashback colouring sheet delivered right to your inbox!


I love this pattern! Would it be okay to use 2.5 inch strips and have a bit larger seam allowance? I have some jelly rolls and left over binding that would be great for this :) Thank you!
I love this pattern! Would it be okay to use 2.5 inch strips and have a bit larger seam allowance? I have some jelly rolls and left over binding that would be great for this :) Thank you!
How does the pattern change if you use 2.5” strips?
Thanks Jodi, much appreciated.
Thank you very much!
Amanda
Leave a comment