Secret Garden Hexie Quilt
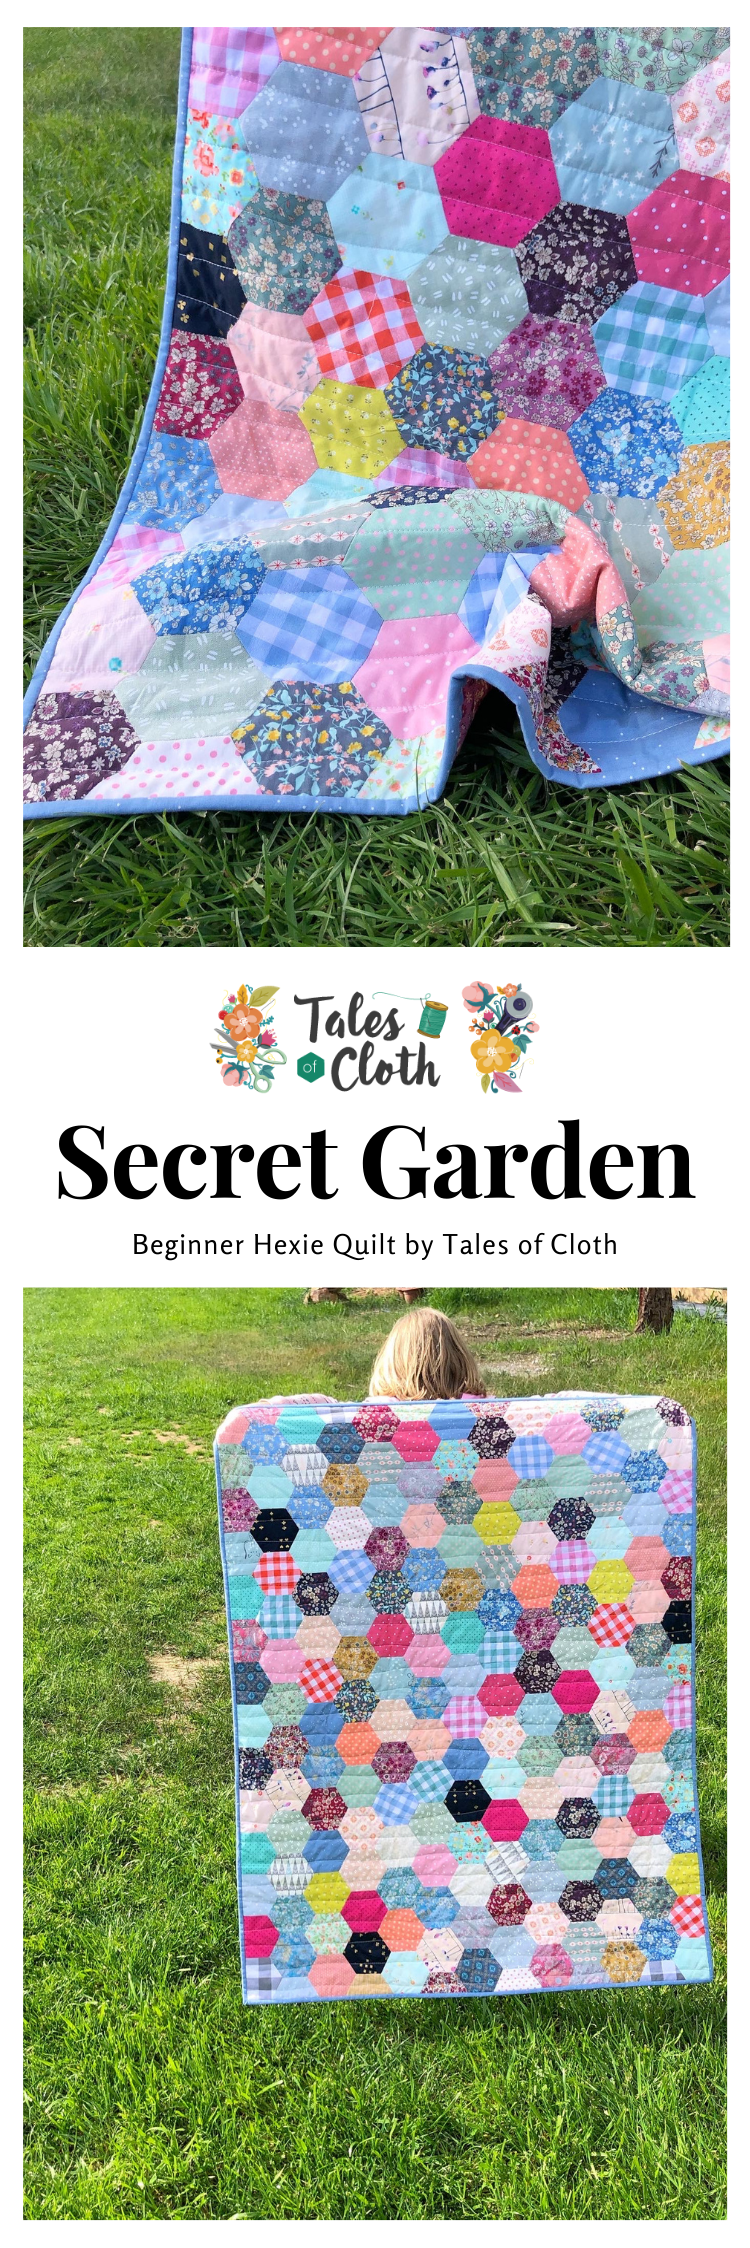
A free Pattern by Tales of Cloth
A child-friendly hand-stitched quilt!
Check the size of your backing.

Cut to size.

Tape right side down to floor.


Lift top two layers first to spray baste.


Note! The photo instructions for this pattern line up best on a tablet or computer screen. Sorry for any inconvenience this causes!
There are lots of photos and videos in this section because it’s trickier to explain in simple diagrams. Enjoy finishing off your quilt!
Part 3: Basting your Quilt Sandwich and Quilting.
12. Remove any remaining papers from your quilt top.
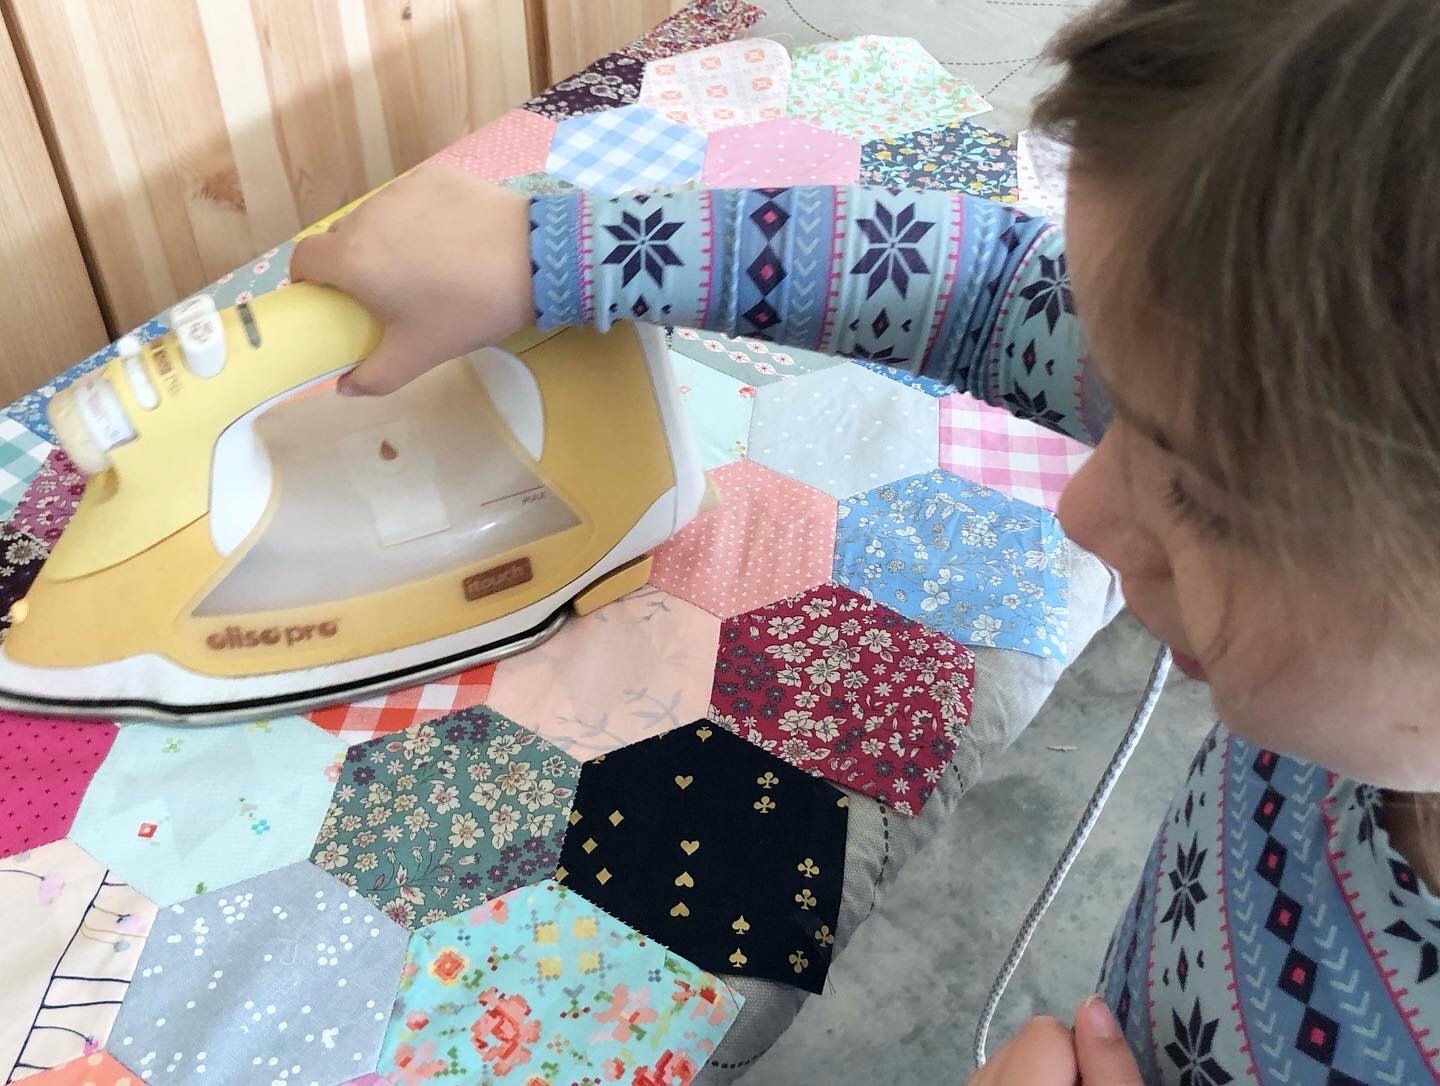
13. Next you’ll need to press your quilt top. Put it on your ironing board, right side down. All the seams inside the quilt top need to be pressed so that they sit flat on their hexagon shape. All the seams around the outside of the quilt top need to be pulled out and pressed away from the quilt top. These outside edges will be the part that the binding attaches to.
Tip for beginners: Pressing the back of a quilt top is different to pressing a sheet or shirt. You’ll need to lift the iron over and over, placing it over the seams and holding it for a second, rather than holding the iron down and moving it around.
This is my 12 year old in the video - a total pro!
14. Next, flip the quilt top over and iron it again - a great job for a 6 year old! (with help and supervision, of course!)
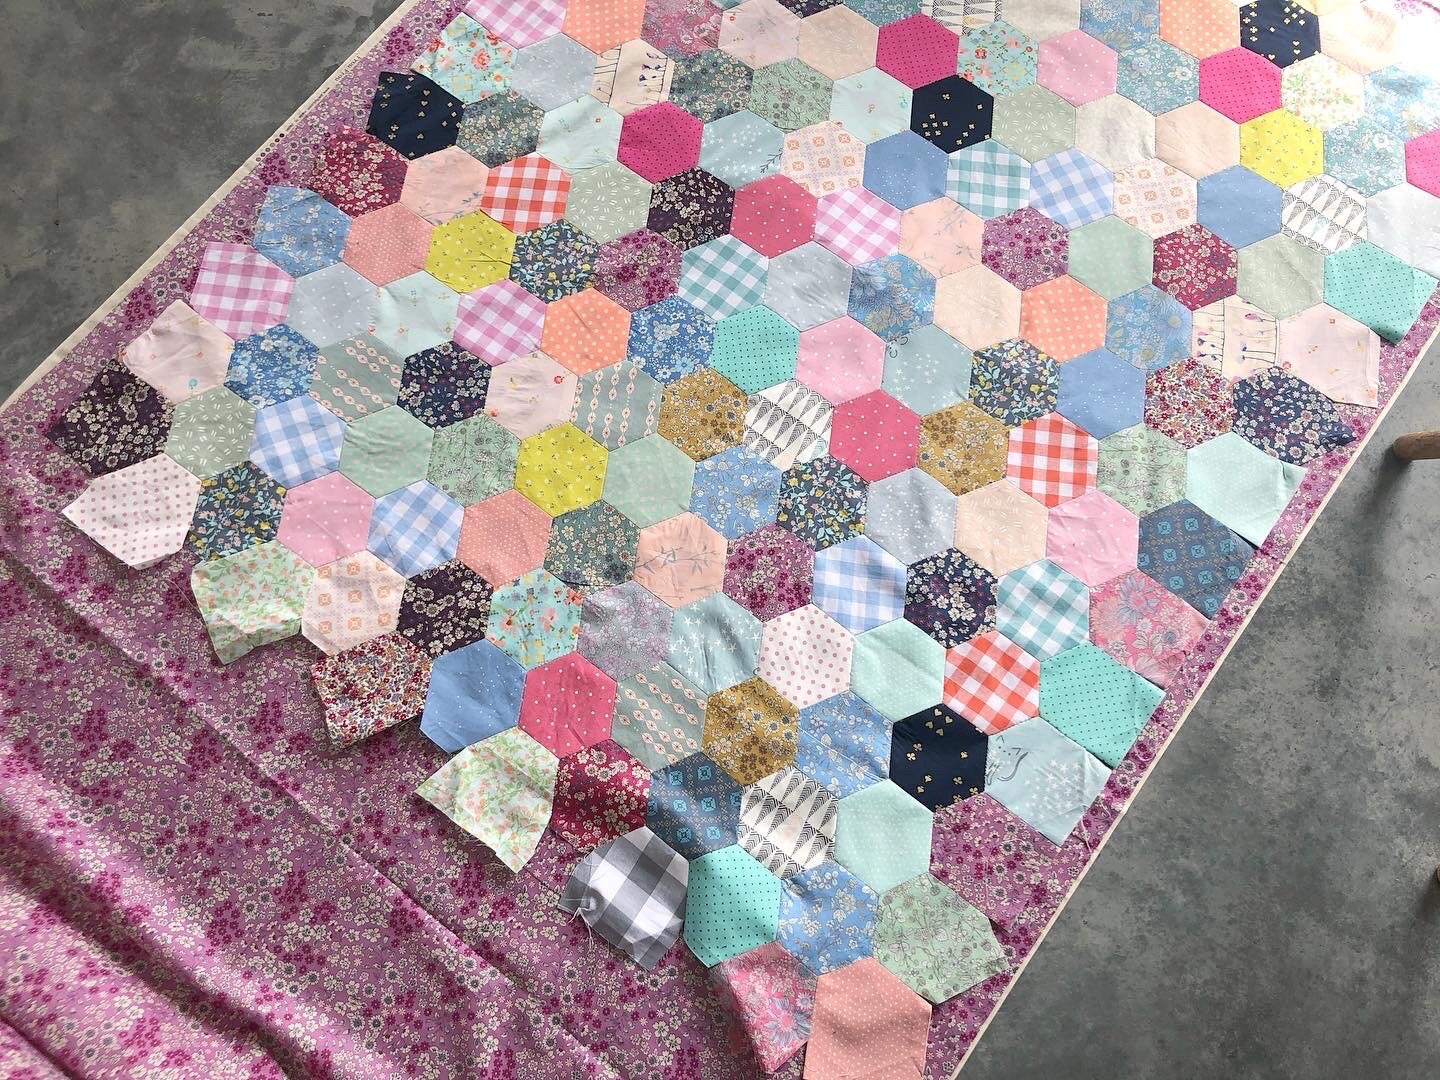
15. Your quilt top will be a few inches narrower that the typical length of fabric. Let’s run with that, rather than piece something wider! (traditionally, you make the quilt back at least 4” wider on each side than your quilt top.) Lay your backing fabric out, and then your place quilt top over it to check that your backing is wider than your top. And then cut your backing fabric a few inches from the bottom edge of your quilt.
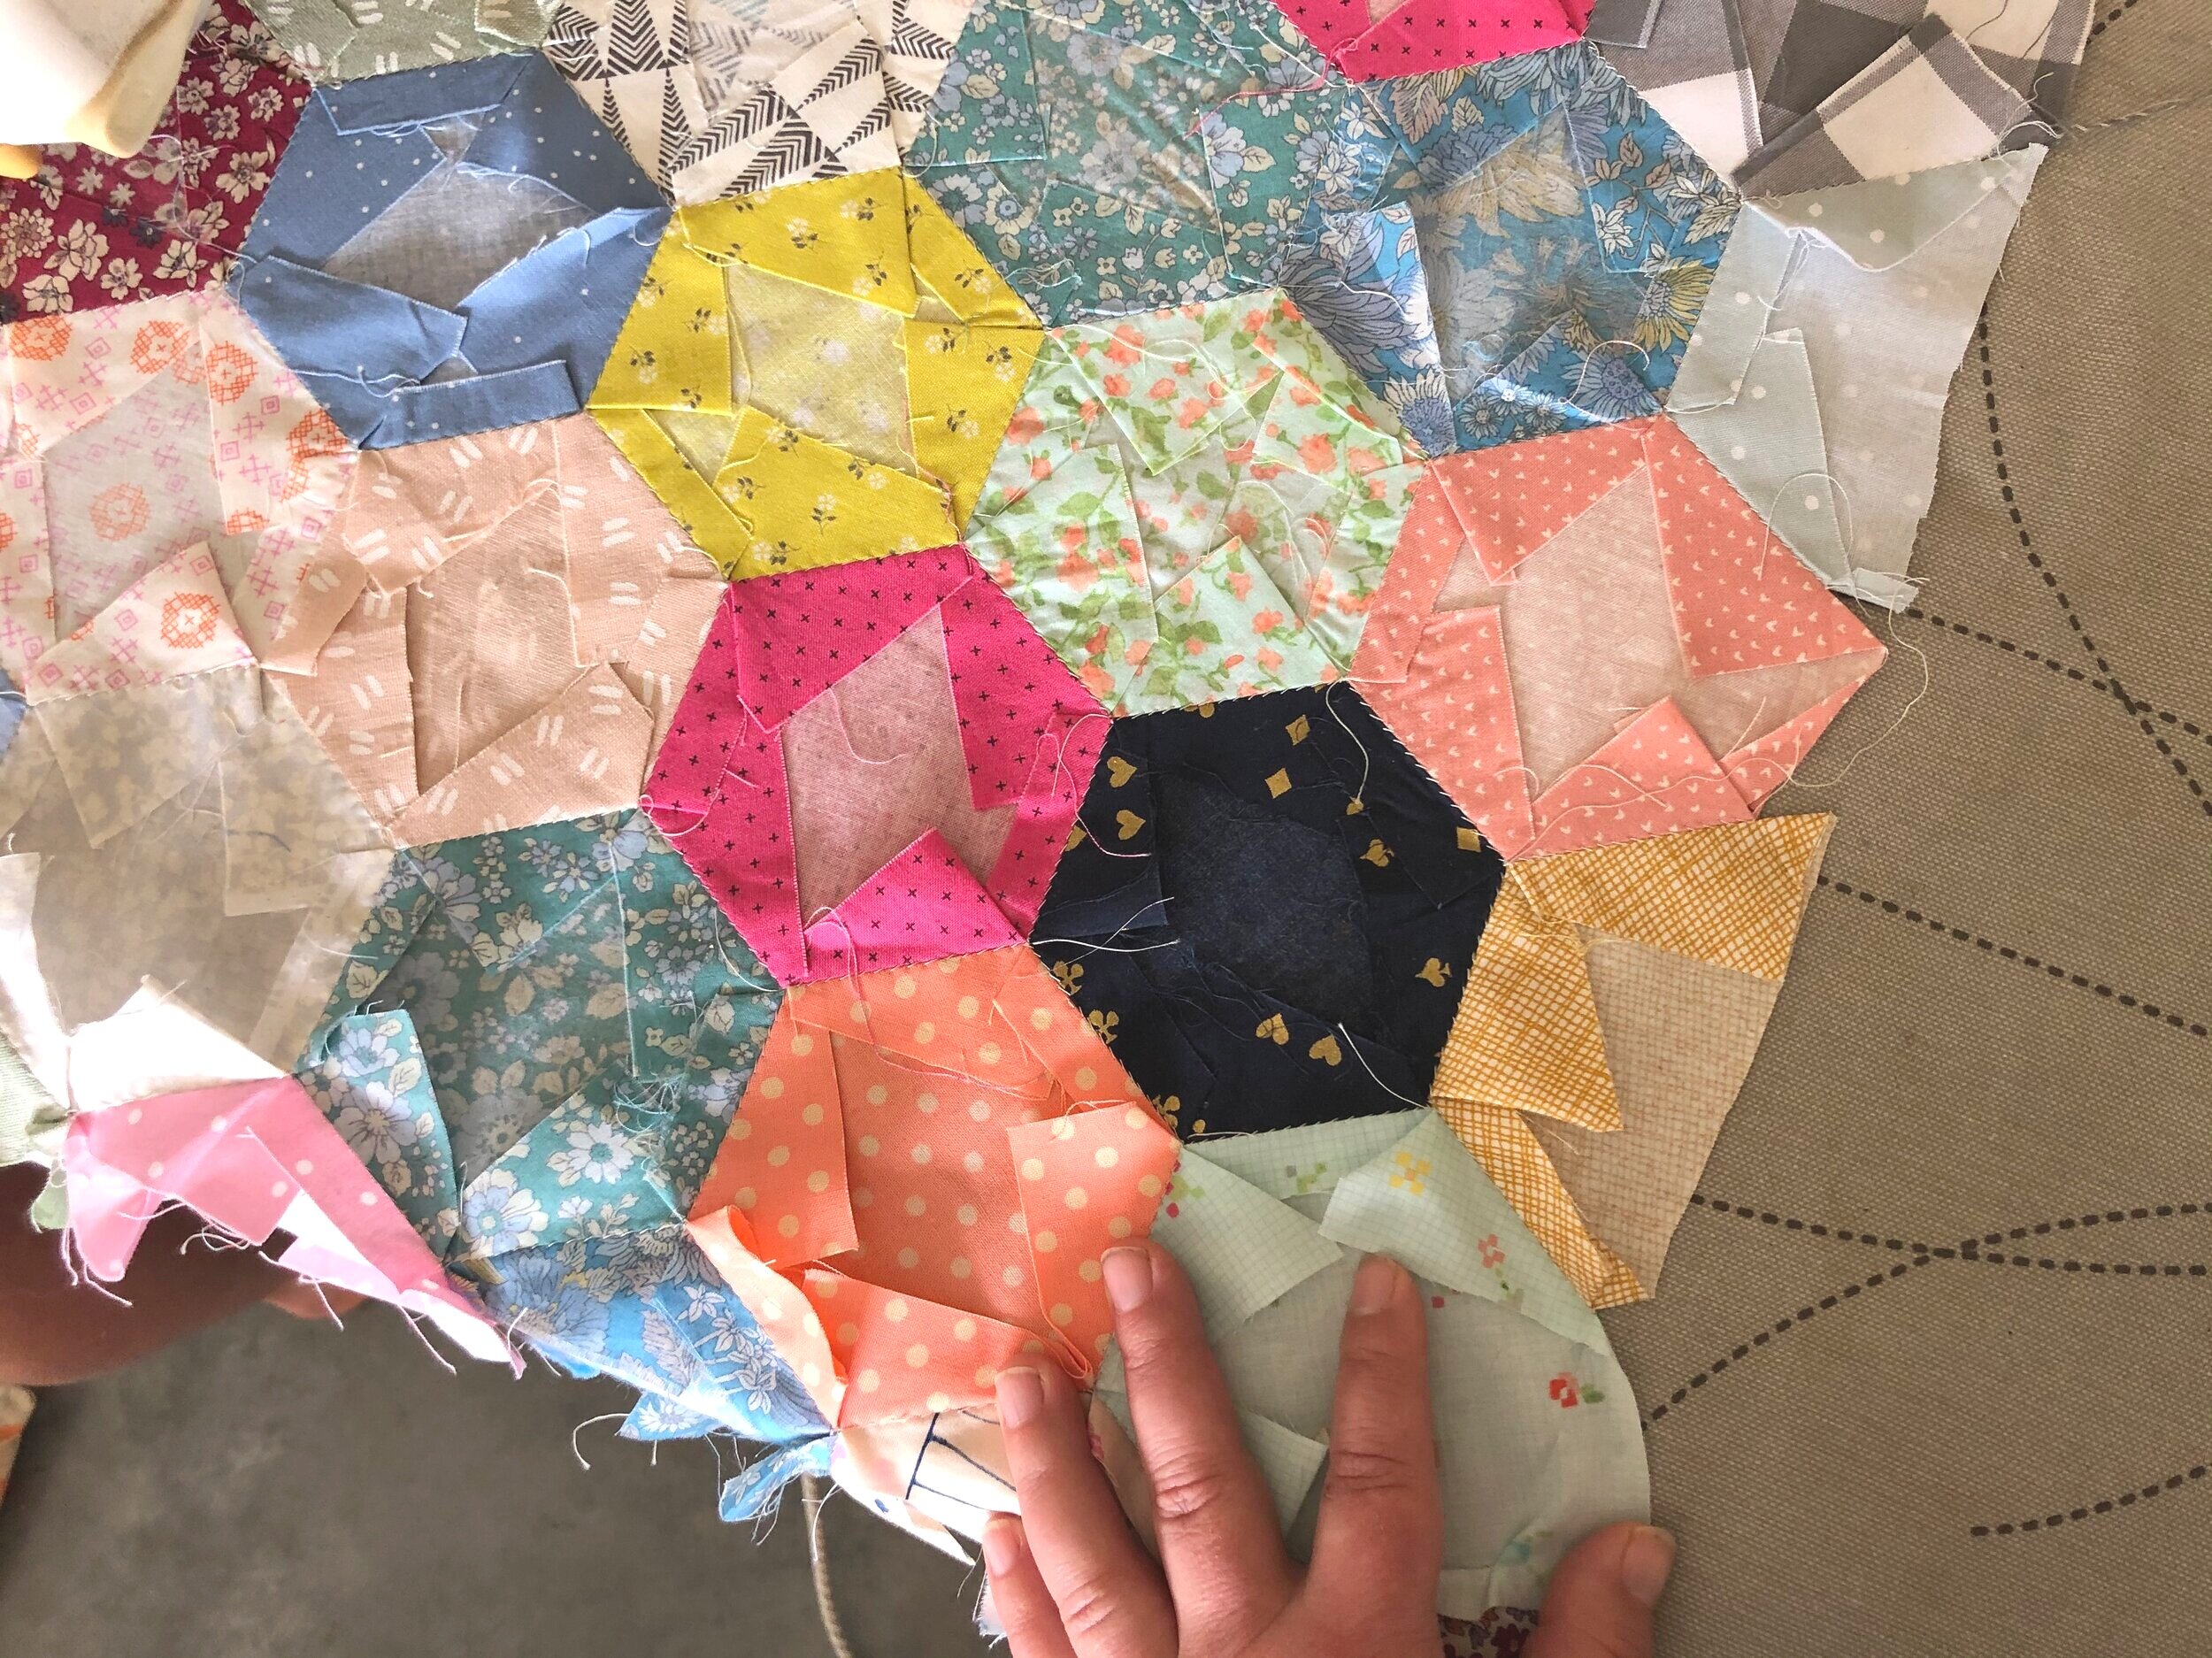
Oops! We basted too many hexies, and so filled our ‘half hexagon’ gaps with the leftovers rather than baste new shapes. That’s why my photo of my quilt top might look a little different to yours!
Check out this video before you cut! This bit is super fun (and that sound - so satisfying)! When cutting quilting fabric from selvedge to selvedge (the whites at the edges), you can knick one side, where you want to cut it, with scissors, and then tear the rest. You’ll get a perfectly straight line as the tear follows the grain of the fabric.
16. Press your quilt back and lay it out right side down on a hard floor (if you don’t have a hard floor, you can clean and use an outdoor area, or do these steps in sections on a table). Tape it in place with masking tape.
(Note! We used cotton lawn for our backing. Prints on lawn often show through on the back. Though it doesn’t look like it, our quilt backing is right side down!)
17. Layer the batting (wadding), and then quilt top (right side up) over the backing. Spread out any wrinkles or air gaps.
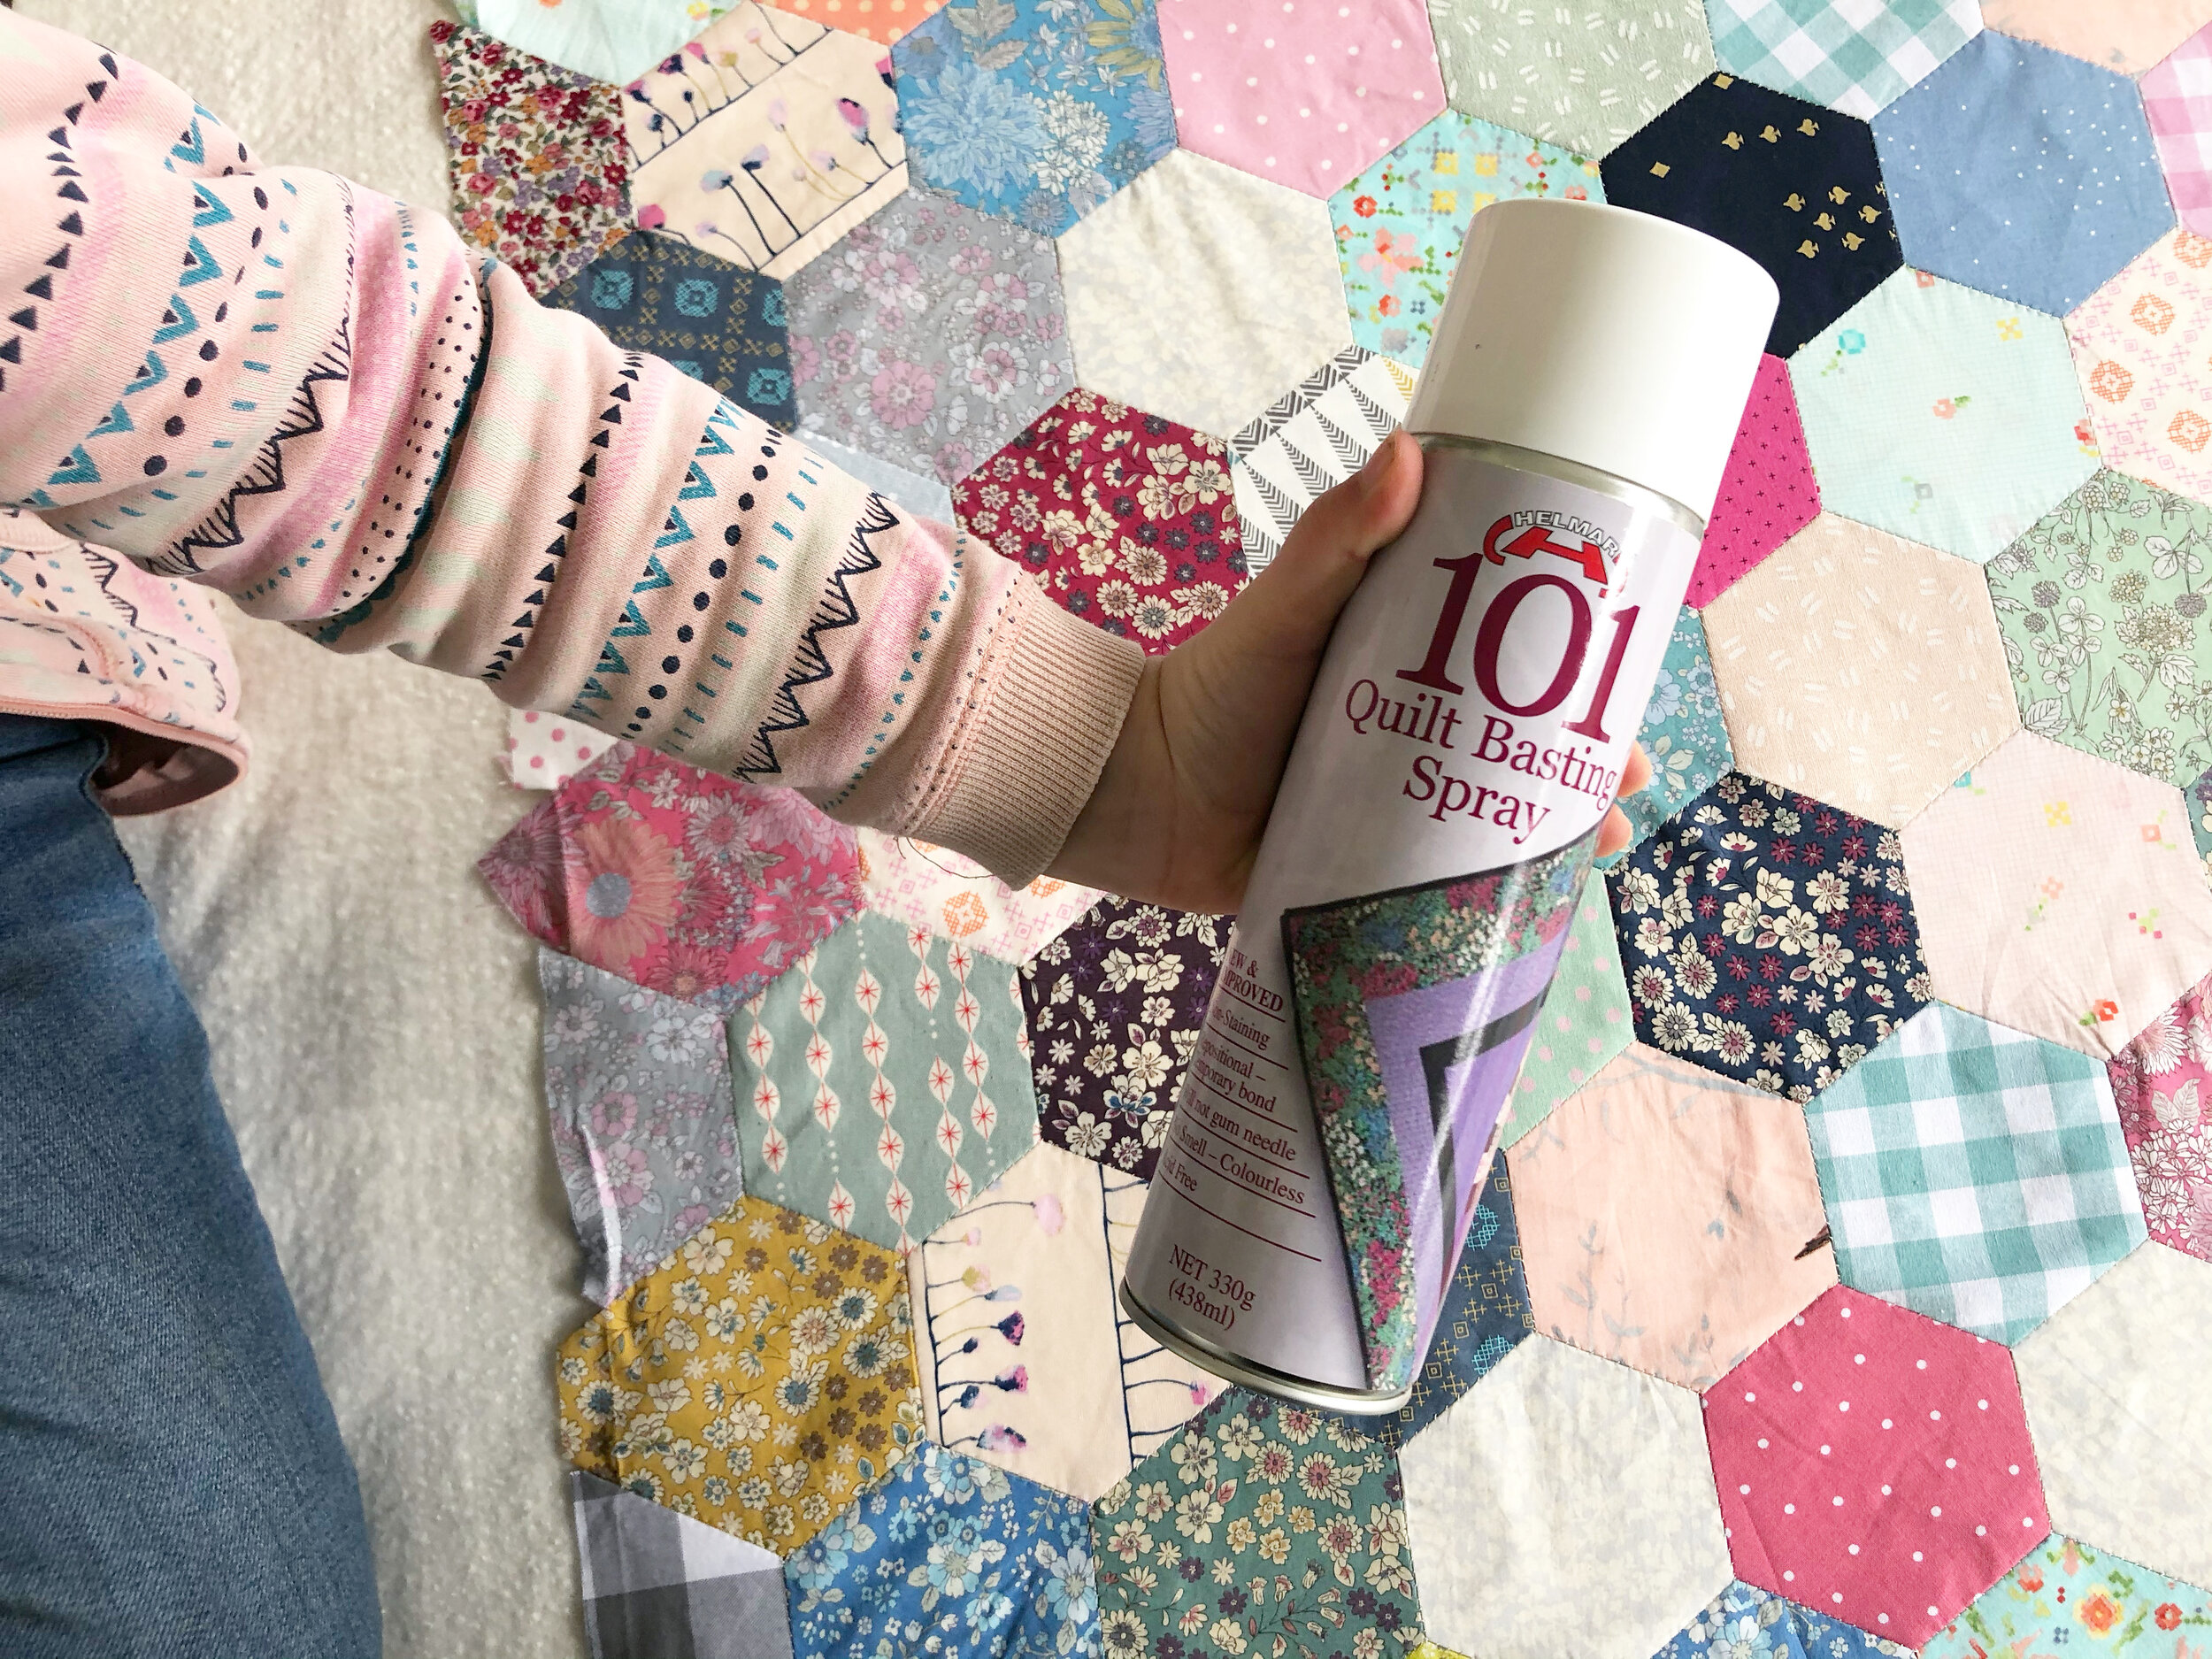
Notes for beginners: I’ve pictured the spray baste I use in the left column. It’s called 101, and is available readily at local quilt shops. You might also find 505, a good brand. I’ve tried cheaper brands from big chain craft stores and they’ve been completely frustrating!
You’ll need to open your doors and windows before glueing to create good ventilation. Follow the instructions on the can.
If you prefer, basting pins work equally well. They are reusable, which makes them cheaper and better for the environment. You just have to be willing and able to crawl around on the hard floor for a long time!
Basting with glue spray is always easier with 2 people. One on each side of the quilt, grabbing a corner each. Once you get the hang of it, it’s very quick. If you get the kids to help, you may need to mop the floor afterwards to stop your socks sticking to the floor! ;) My 9 year old helped here and did a great job. My 6 year old was keen, but found the spray can too difficult to manoeuvre.
18. Lift the quilt top and batting layer so that they are folded in half, out of the way. Spray the backing half. Bring the batting layer back over the sprayed backing, holding it taut (but not stretching) and gently spread out flat. Now spray the batting half. Bring the quilt top half back over the batting in the same way.
Repeat with the other half of the quilt.
19. Peel the tape up and start quilting (sewing the layers together)!
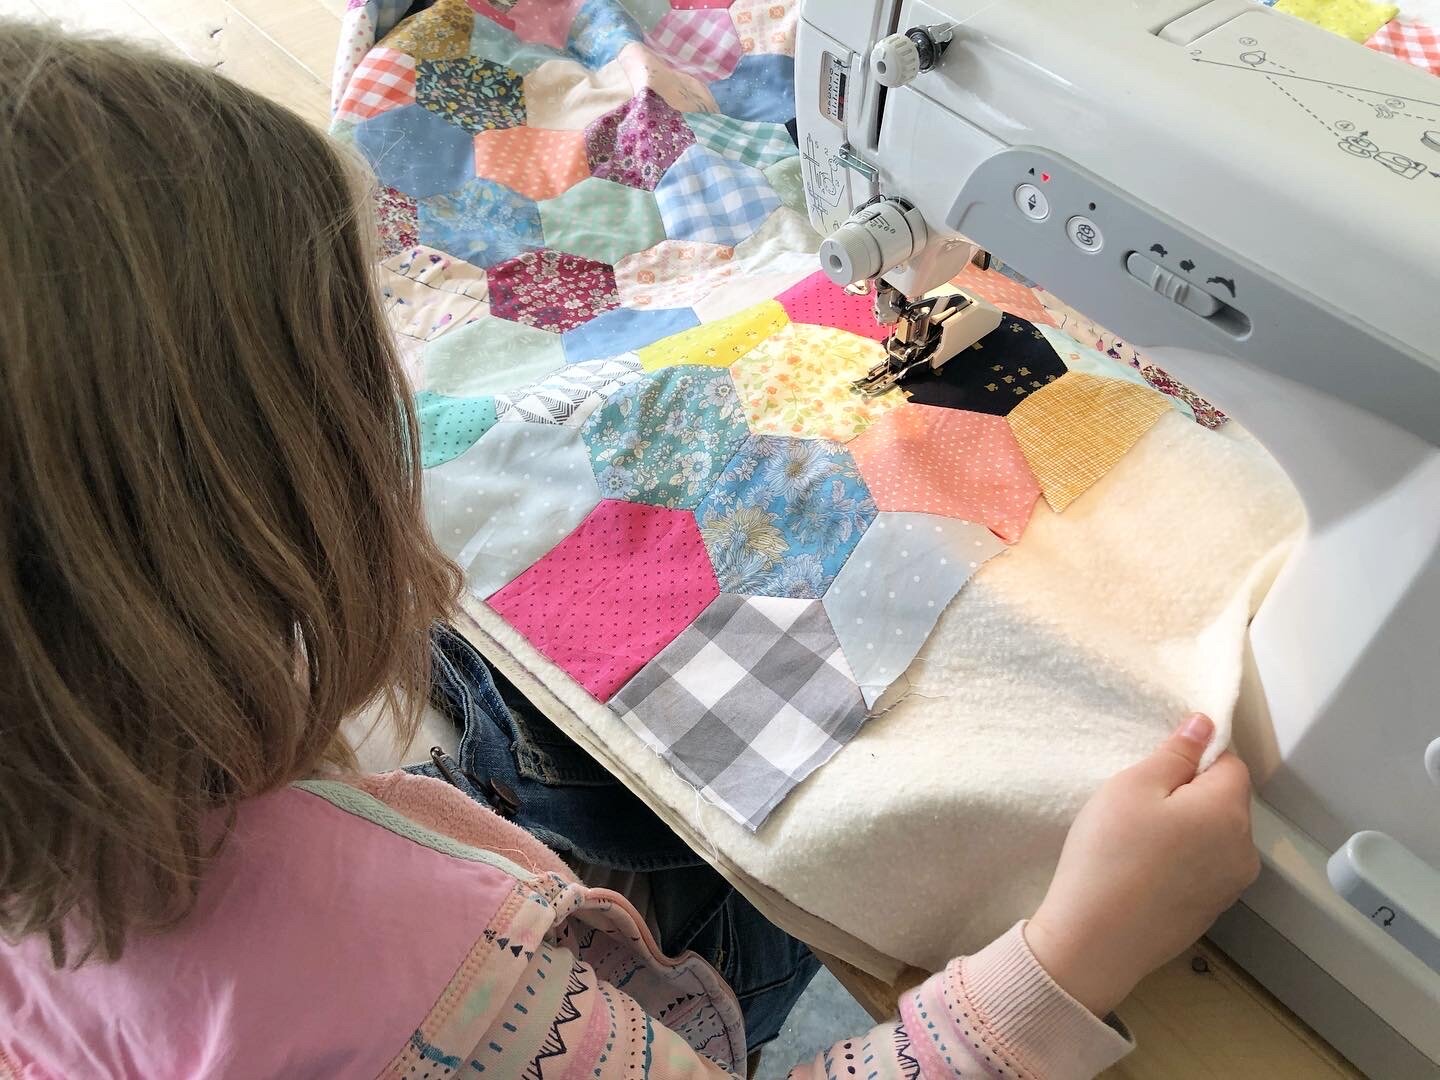
Note for quilting with kids: We decided to machine quilt our hexie quilt because it’s quick and we were keen to finish by this stage! Because my 9 year old Evie was keen to quilt it, I decided on a quilt pattern that embraced how quilting might look if done by a child. It can take a bit of getting used to, wrangling a quilt inside a machine - learning not to pull or push it through but just guide it.
We quilted in organic lines running horizontally, and used the hexagon edges as guides. I stood over Evie’s shoulder and pointed out the next point to aim for (mid way through the next seam line in front of the machine foot.) When I took over, I made the lines a little wavy to blend in with Evie’s. The result was lovely!
The original trimming and binding page has been updated. Click the button above for an updated tutorial!