EPP.101 - The Basting Debate
The two questions I get asked most about English Paper Piecing are about basting at the beginning, and trimming the quilt at the end. Is there a best way to hand piece a quilt? I thought I might take you through the steps of my new quilt, Diamond Mine over the coming weeks, to show you how I stitch a quilt from start to finish. I'll take lots of photos, discuss different options and answer any questions you might have at each step. I hope you find it helpful!
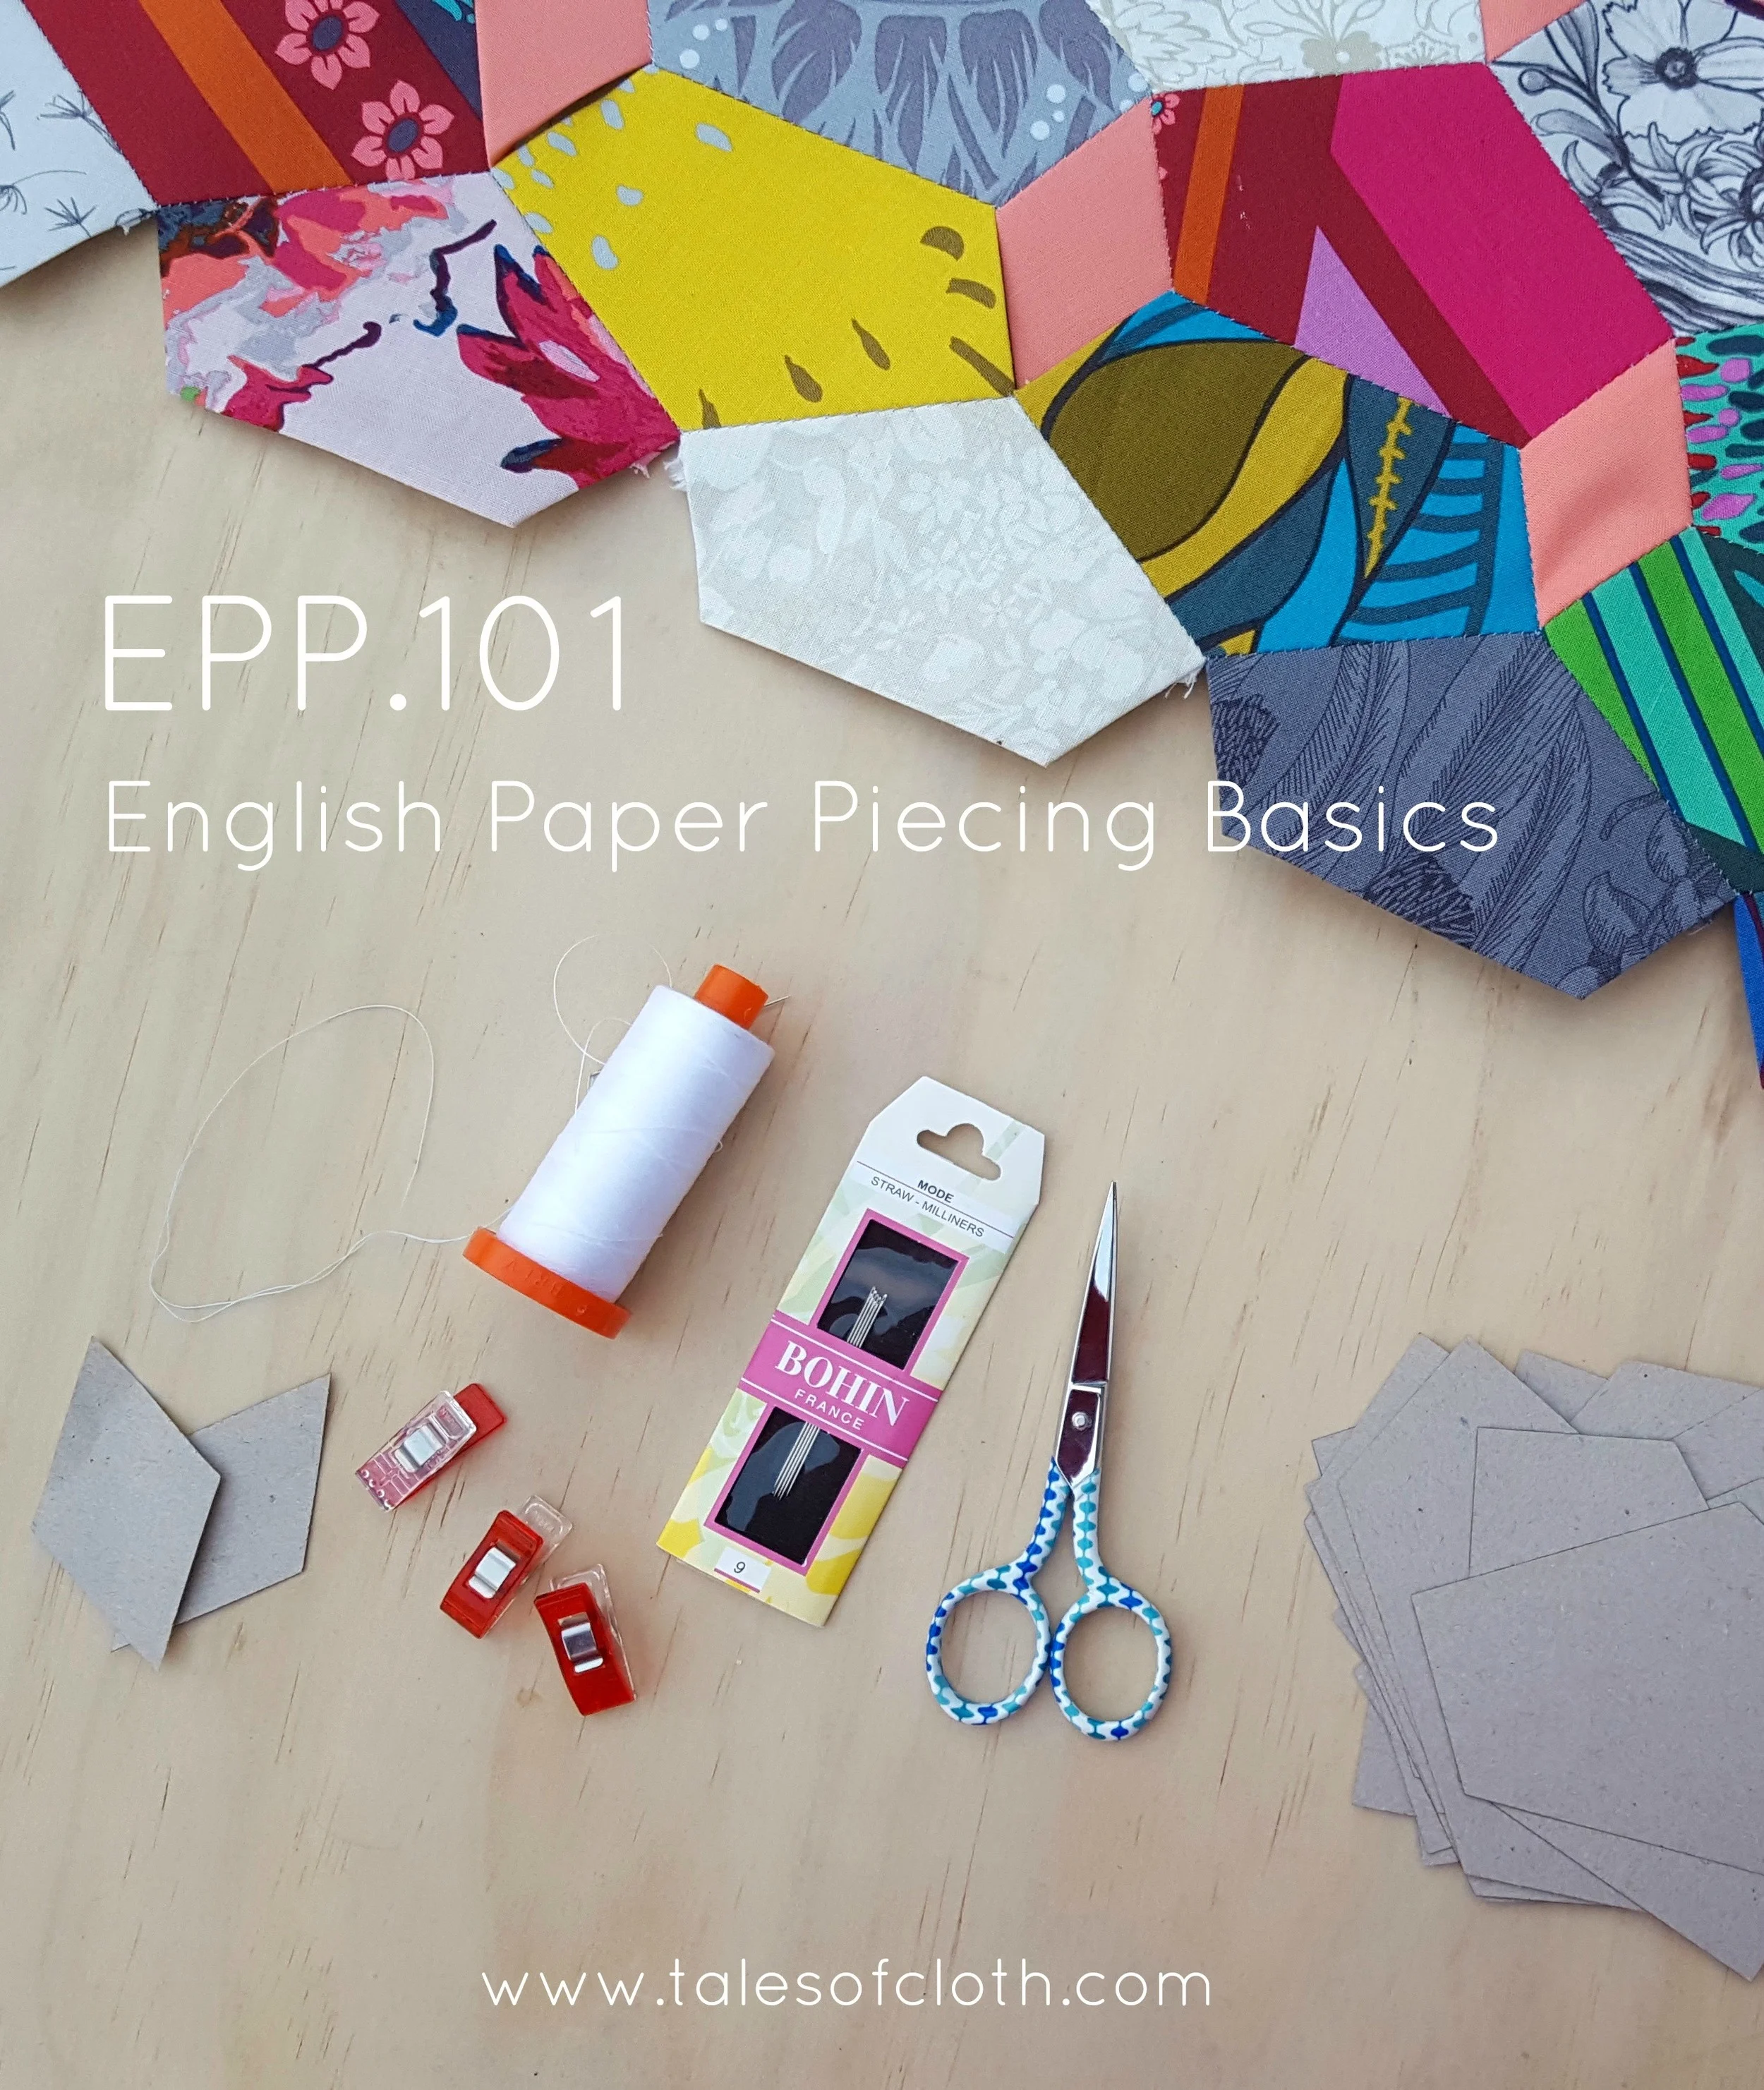
Do you stitch baste or glue? Today I photographed both process to compare them and I was almost convinced to change my usual glue-basting ways! I'll go more into that in a moment, but first, here's the tools you'll need for English Paper Piecing.
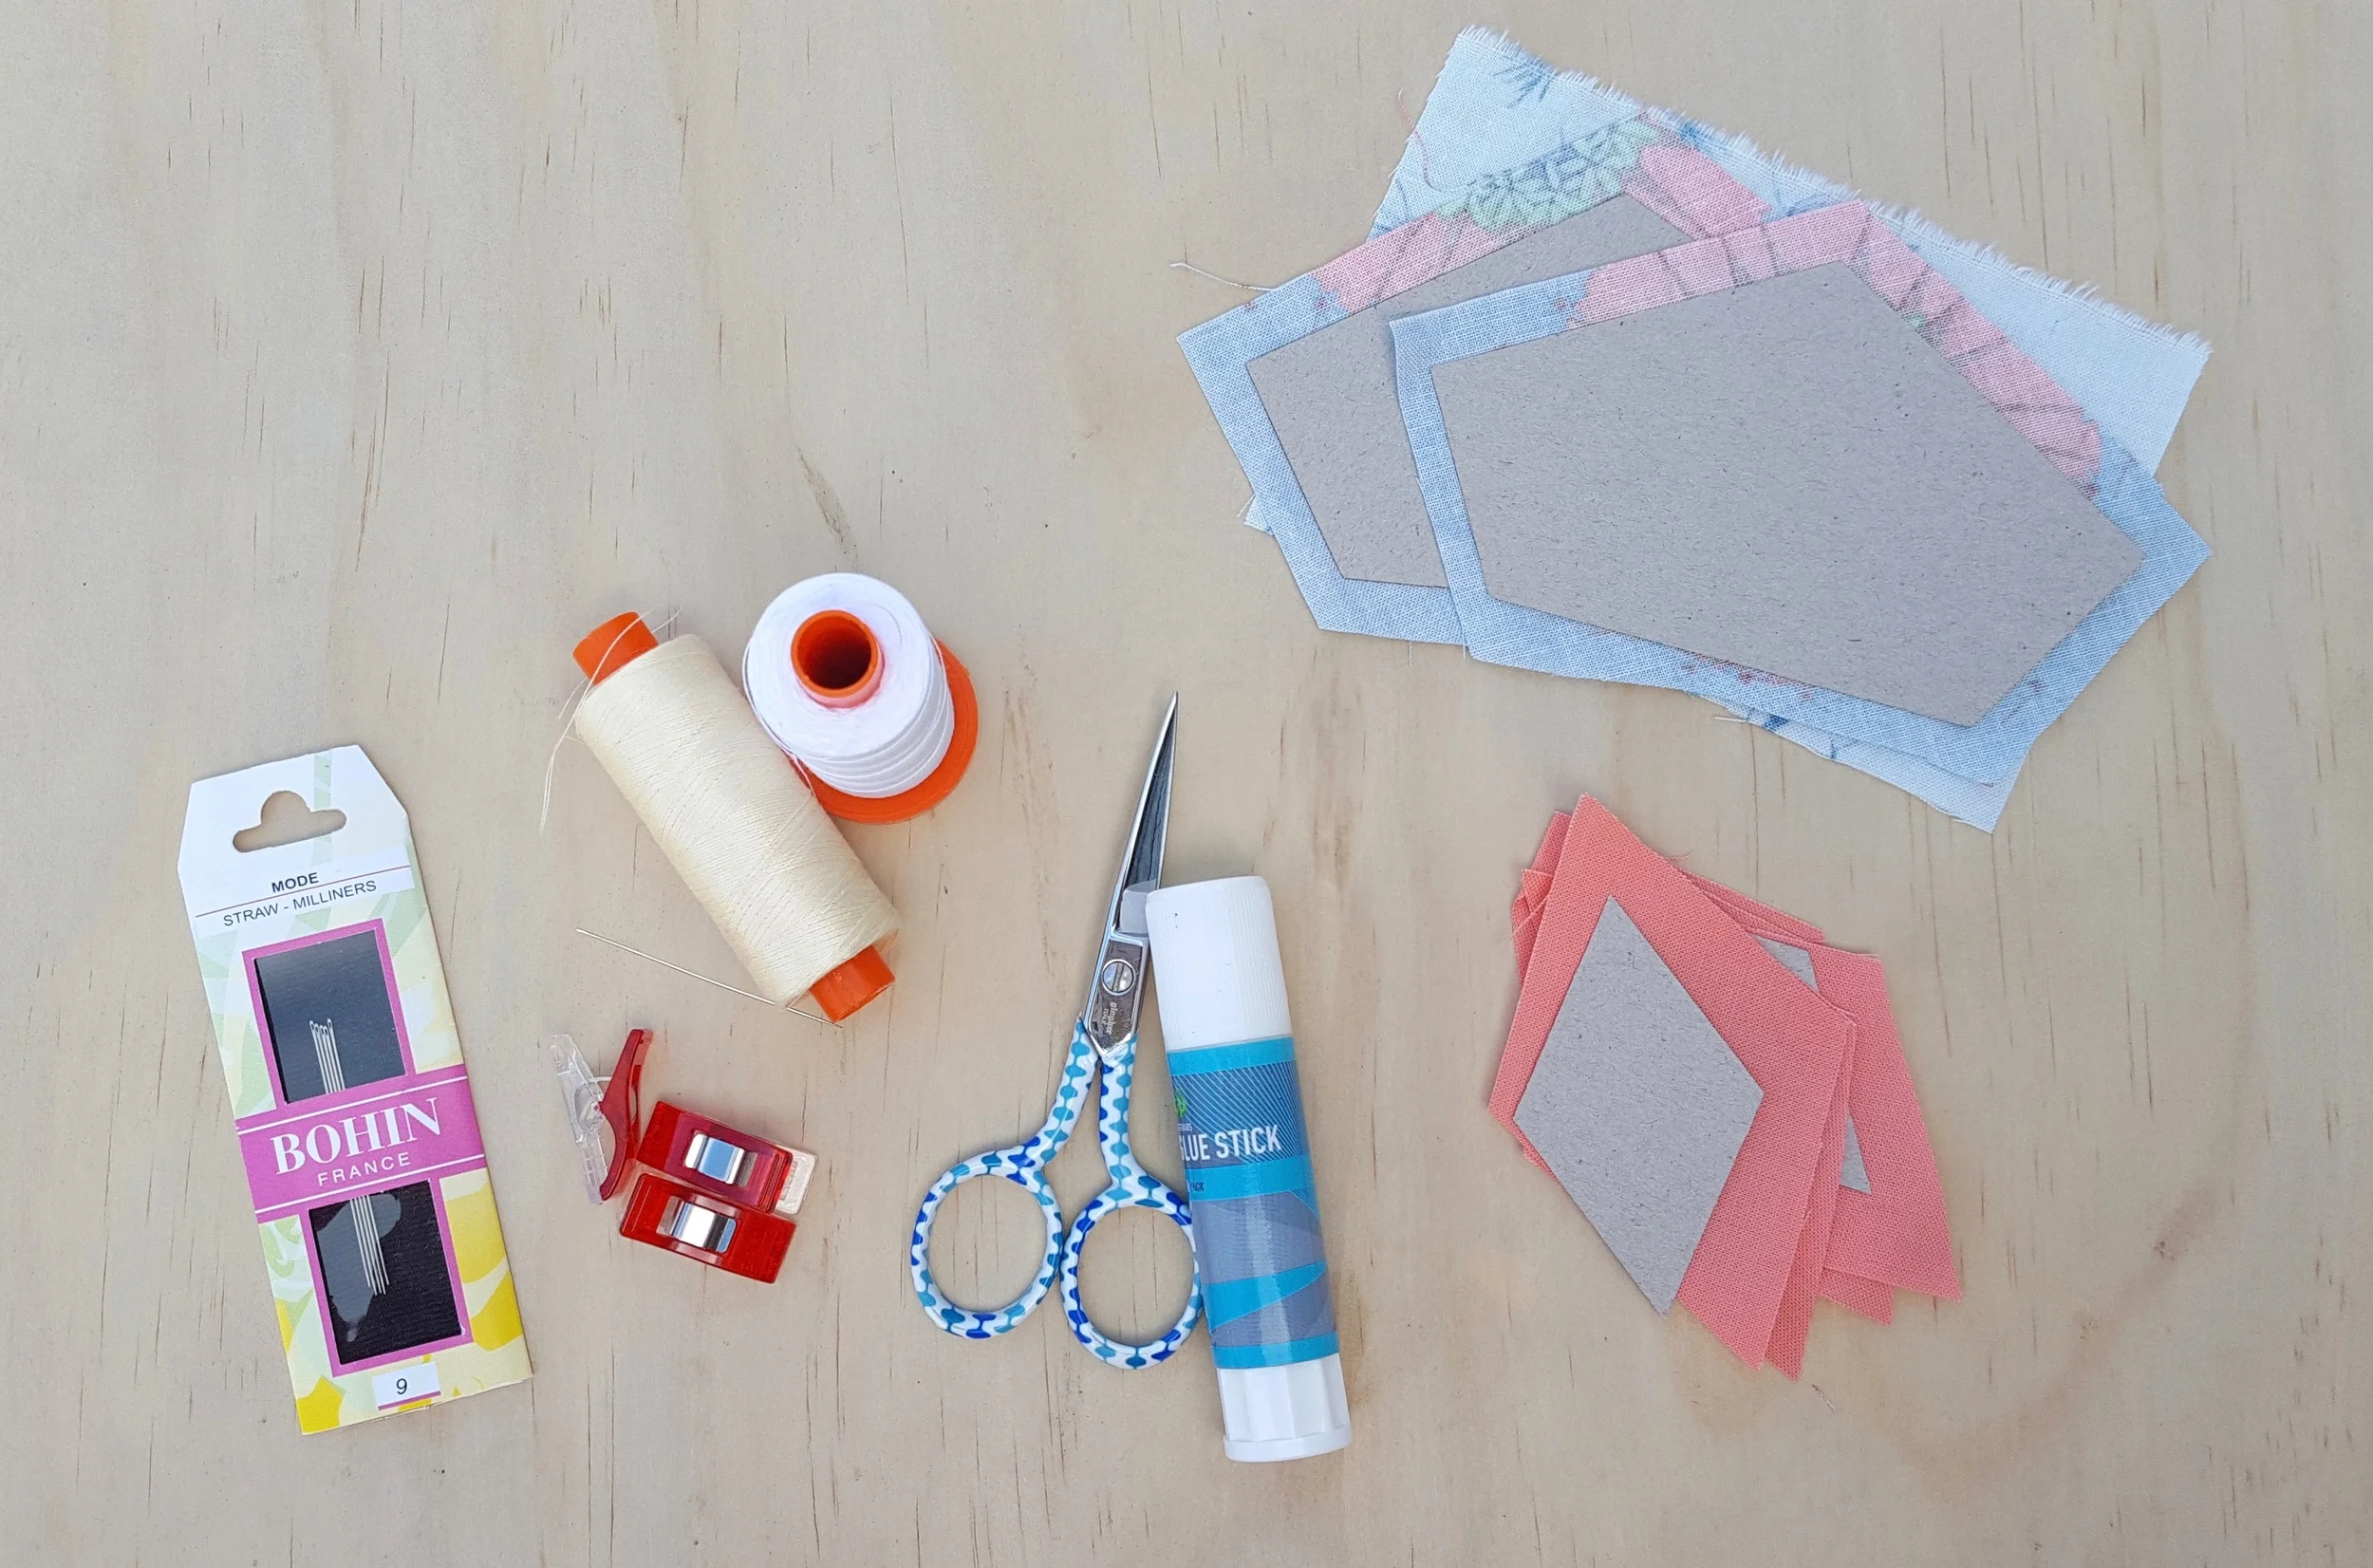
English Paper Piecing Tools.
FABRIC: Of course! I've used all kinds of cotton from voile to flannel, in my English Paper Piecing, and I find the finer fabrics more enjoyable, voile and lawn, and anything by Art Gallery Fabrics. Oh, and Cotton Couture Solids. They baste beautifully, fold easily over the papers, they don't slip, and are easy to stitch through. Of course, most of my quilts are made from ordinary quilting cotton, but if you're trying EPP for the first time, or wondering whether those Liberty Fabric or precious Little Folks would be a bit too wily, don't hesitate to use them. My Little Folks hexie quilt that I made a couple of years ago has held up to toddler use and washed wonderfully.
PAPERS: While making my first hexie quilt several years ago, I quickly became sold on pre-cut papers. It's easy to find hexagon templates to print out online if you're stitching up something small, but it's amazing how many hexies fit in a small quilt! My Little Folks quilt mentioned above used 506! Of course I'm going to recommend my papers! But I also want you to know that I chose the paper very specifically. I chose 105gsm (grams per square metre), which is thinner than card, but slightly heavier than printer paper. Think fancy, like wedding invitation or formal letter. I like my papers not to be too thick because I like to bend and fold the quilt as I'm stitching (there's often a lot of zig-zagging along seams in EPP!), and I often keep the papers in until the end. Heavy card makes a quilt difficult to maneuver when stitching the last rows together, and it makes it tricky to hold. Thinner card is easier to stitch through if you're thread basting and doesn't make the fold of the fabric bulky, which leads to a more accurate seam. (I was also really fussy about my papers and packaging coming from completely recycled paper made safely nearby, but that's enough spiel from me!)
NEEDLES: My favourites are Straw-Milliners, size 9 made by Bohin. They are strong and sharp and so fine. I enjoy using long needles (maybe because my fingers are so short!), and I don't mind threading through a tiny hole. If that bit gets you, I recommend talls or sharps. Both, however, are thicker needles, and I love hardly having to push that fine baby through the fabric!
THREAD: I use Aurifil 50wt. I've used all kinds of threads on my machine, without much fuss, but I really noticed the difference in my hand piecing. You want a thread that snips clean, making it easy to thread the needle, that doesn't break or fray going through the fabric over and over, and doesn't tangle. And you want it to glide on through after the needle, rather than having to tug on it. I've never had problems with breaking or fraying with Aurifil. I find it easy to stitch with and to thread the needle. And if I make sure my thread isn't too long, it never tangles. I've read before of people using 60 wt bobbin thread, but I haven't tried it. Let me know if you have!
I prefer light coloured thread that isn't white for my piecing. I rarely stitch with white fabric and hand pieced stitches often show (which I totally don't mind. I made this! By hand! Those neat little things are testament to my hard work!) but white does show more than a light aqua or mint or grey or butter yellow. Also, if you're traipsing your project around everywhere with you for months, colours get less dirty when dropped on the ground or left in the bottom of your handbag. Not that I would know. Ahem. And anyway, stitching with colours is fun!
CLIPS: If you decide to thread baste, I recommend Clover clips or paper clips or even sewing pins (though these aren't as travel happy), because the fabric shifts as you baste. As a glue baster, however, I only use these if I want to make sure I'm matching seams. It hasn't happened very often, but occasionally I've had a quilt (like this one) that Clover Clips really helped keep everything matched up. Most of the time, however, I don't need to worry.
GLUE: I bought a quilting Glue Pen last year to try for my Nana MacIntyre Quilt because it was quickly turning into a monster, and wanted to see if glue basting was quicker. Oh my goodness it was! And I really enjoyed it. The pen was nice to hold and use, but I quickly used up the $10 stick and refill and realised I would need to spend at least $100 on glue to complete the whole quilt. I decided to give ordinary glue a go. I don't want to put the wonderful people that make these notions out of business, but honestly, I can't tell the difference. Actually, that's not entirely true. The quilting glue pen never lost glue off the side, and ordinary glue sticks do, which can get messy, and I keep a tissue around to wipe it every so often. And I've had to play around with a few different brands, because I want the glue to be firm rather than squishy or lumpy. My favourite? Woolworths brand 8g sticks. They come in a packet of four and work out at around 50c each. They are small, so easy to glue just a thin line along the edge of the paper, they hold the fabric down, and are easy to peel the fabric off at the end.

Basting.
Today I decided to compare basting methods. I knew there were pros and cons for both, but I wanted to try them out side by side to experience the difference and let you know what I thought. I asked Tim to help me photograph the steps, and I even timed them! The results surprised me and made me rethink my basting stand. I'll let you decide which way suits you better!

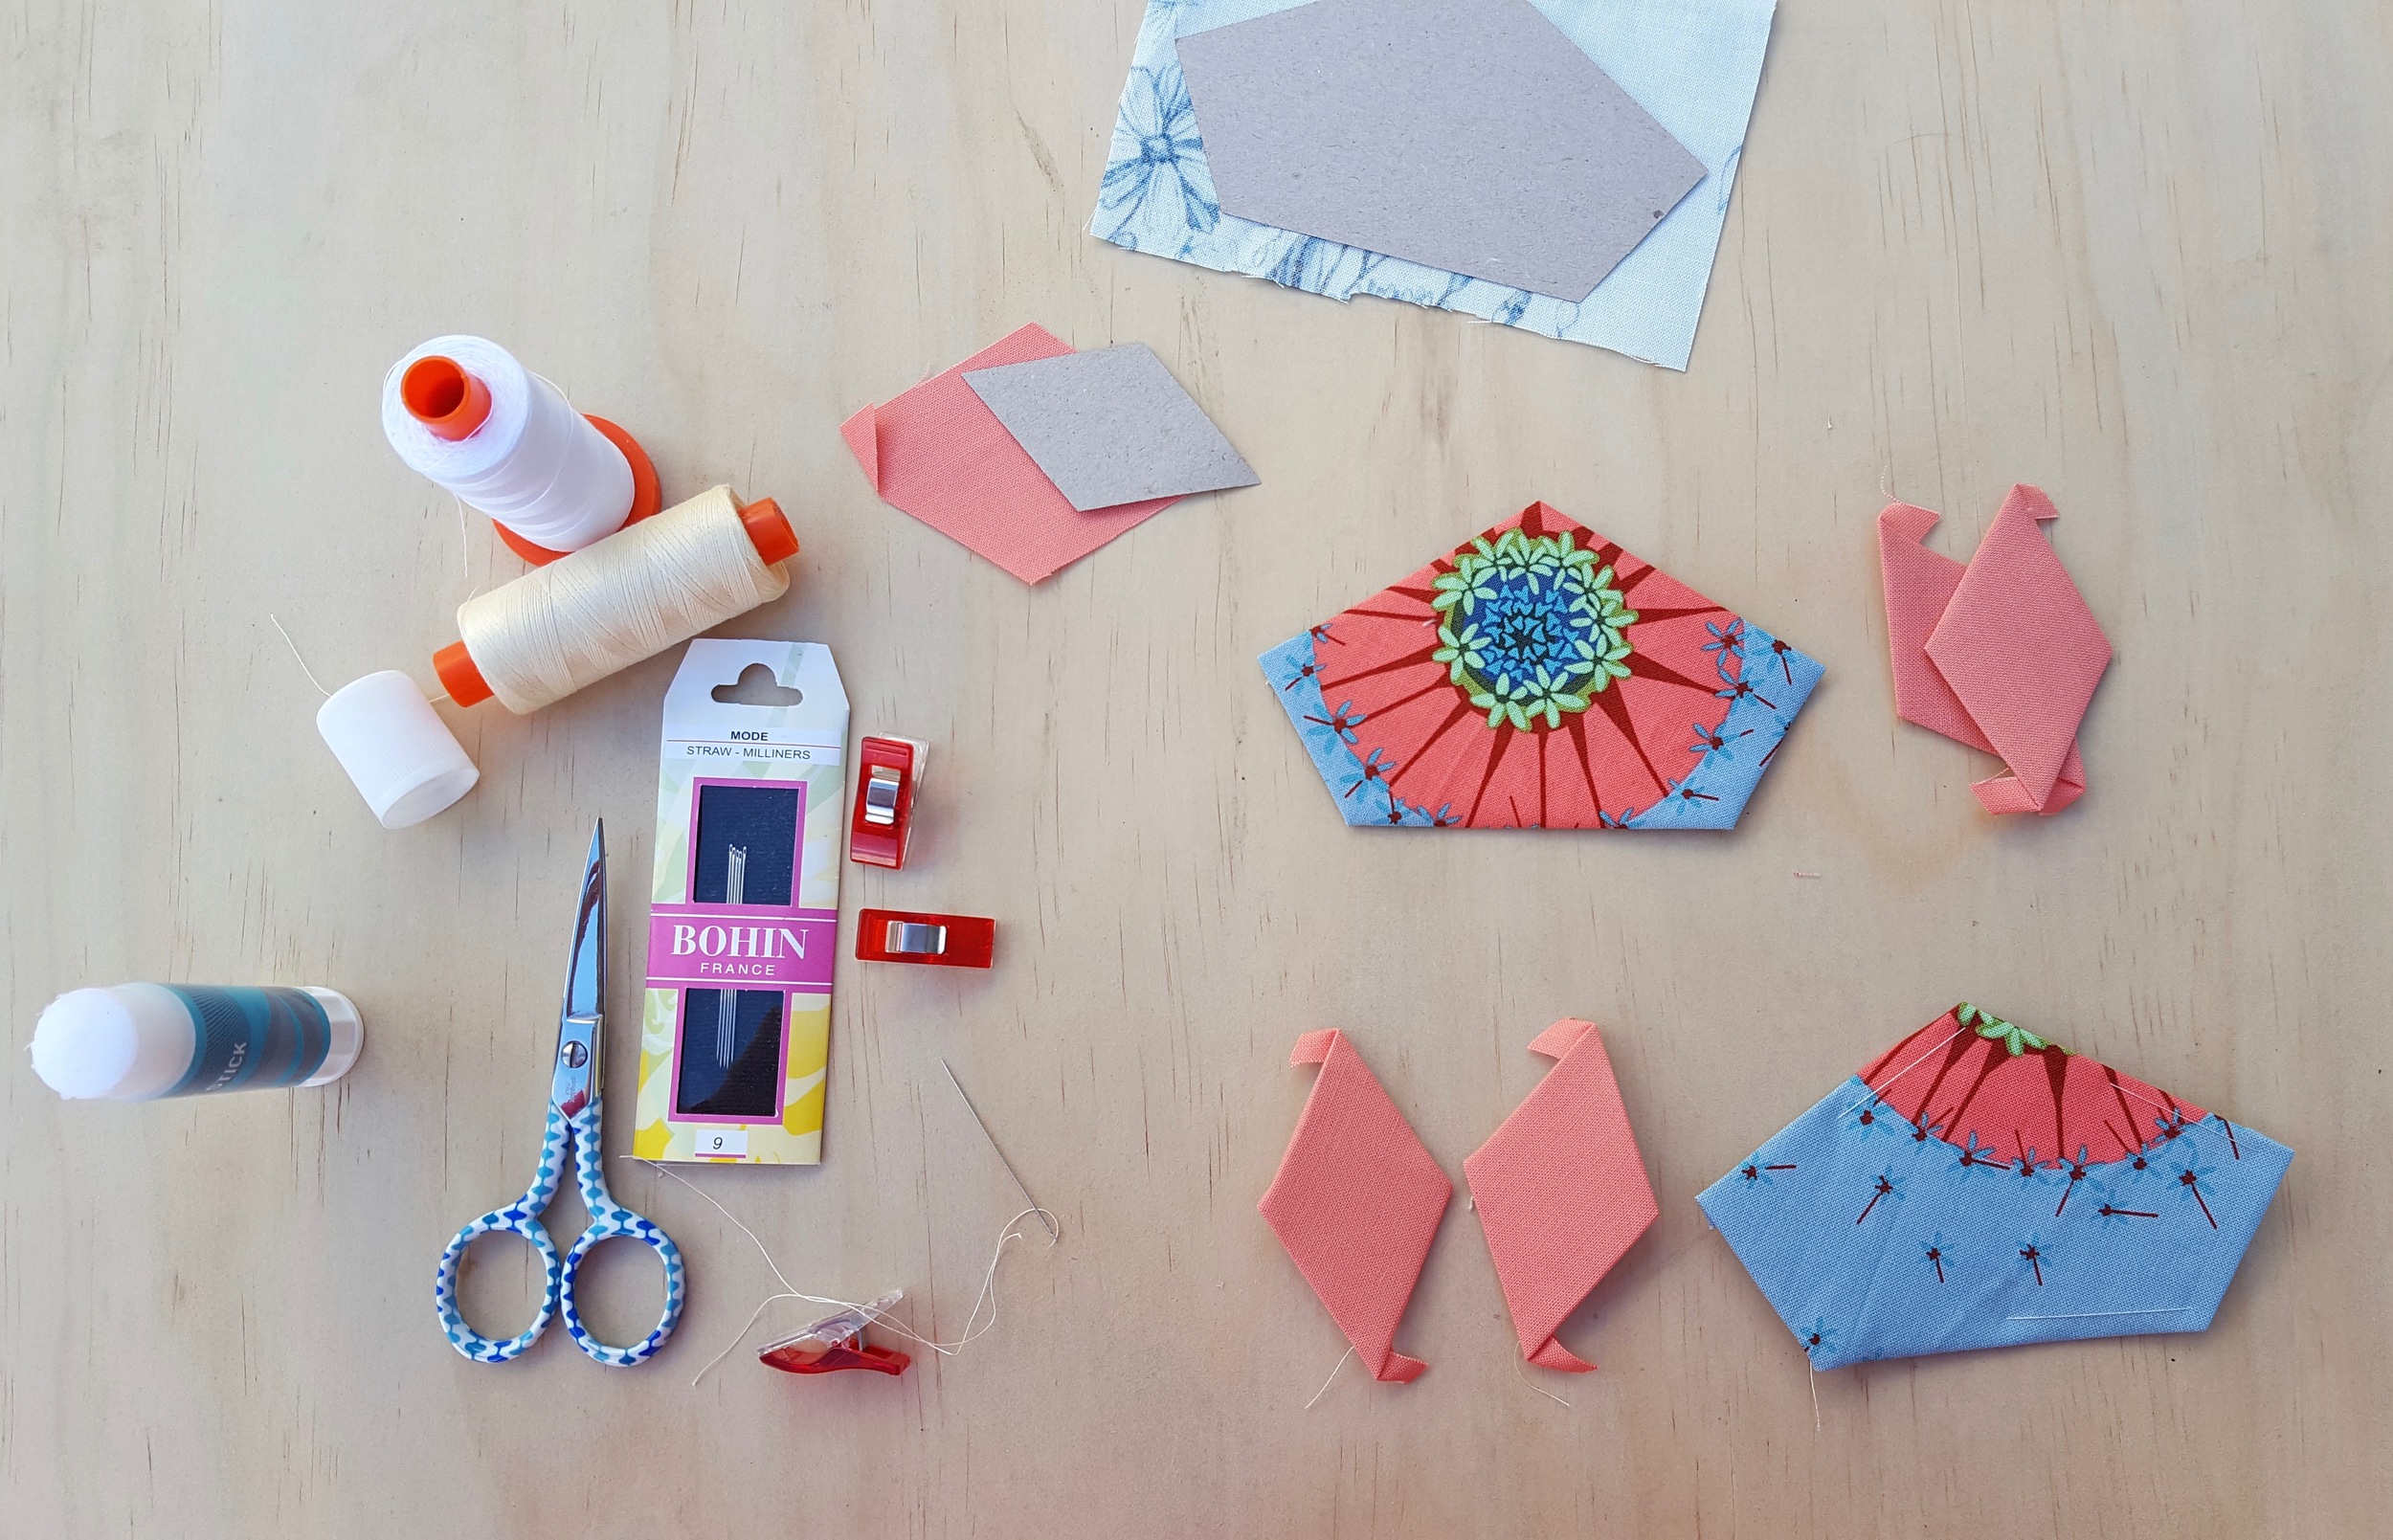
GLUE BASTING:
The most important thing to remember while glue basting is NOT MUCH GLUE! Swipe the stick along the edge of the first side of the paper one or two times. Carefully fold the fabric over and press. I find it helpful to use my whole finger. It's better to press it down longer, than glue more. Trust me.


Turn the shape around and repeat. Shapes like diamonds end up with little tails. If you want to avoid those, like if you're planning to applique, I recommend using thread instead. But I don't mind tails.

There! Easy Peasy!

THREAD BASTING:
Fold the fabric over the paper and fix with a clip.

Next, flip your shape to the other side, fold the fabric over on both sides of the corner, and stitch a few stitches through the layers of fabric to hold it.


Fold the fabric on both sides of the next corner, and stitch twice, and then repeat until the shape is basted.
If your shape is bigger that our little 1.5" diamond, you'll need to stitch though the paper in-between each corner, and come back up through the next corner.

The Verdict (kind of!)
GLUE: Glue basting a 1.5" diamond took 28 seconds! It hugs the paper tightly and in my opinion is more accurate around the corners (though once I stitched them into the quilt I couldn't notice.) I find glue basting more enjoyable, but it isn't really portable. I do it in big batches at the dining room table and then take the basted shapes with me everywhere. It's fast and I get in a groove and I never run out of thread and have to re-thread the needle. The other important note is that it's not suitable for applique. When you thread baste (small shapes), the seam stays in place once you take the papers out.
Glue basting becomes a little tedious when taking the papers out. It isn't difficult to peel the fabric back (especially with a slightly bigger seam allowance), but it is slower than just popping out a thread-basted shape. Confession: my kids love this part, especially my two year old, so I always save taking the papers out for when they're around. A word of warning, however, kids don't really care about saving the papers, especially two year olds. So only employ them if you're not planning on re-using the shapes.
Finally, ironing the back of a quilt top that has just had each seam peeled up is a big task. No bigger really than ironing a machine sewn quilt top, just that you've saved all the pressing until the end and it's a little awkward making sure you're keeping everything facing the right way.

THREAD: Thread basting the diamond took 1 min 29 seconds. And it frustrated me. I kept getting the thread tangled on the tails and the clover clip. When I was basting the 1/3 hexagon, I ran out of thread because I underestimated how much I needed left on my needle. Argh! Maybe I'm just out of practice. I did time myself a few times!
But thread basting came into its own when I stitched around it and took the papers out. It literally POPPED out. Obviously with bigger shapes, you'll need scissors to snip the threads and release the papers which would slow the whole process down. But I did imagine pressing to be a whole lot easier with the seams stitched down.

Here's a picture of the two used diamonds, thread basted on the left, and glue on the right. You can see the right one is more worse-for-wear. Apart from the glue remnants, the paper has been nicked more, which shows I'm sewing right on the seam line. The shape on the left will be re-used more times. Maybe I need another test to see how many times I can re-use a glue basted shape?
This quilt will have around 100 diamonds in it and 170 1/3 hexagons. A minute and a half or more for each shape is a big investment, and one I'm not sure is worth the pay off. There's something in me that likes committing to a project by having all the pieces ready fast, and then following it through no matter what comes. Maybe I'm not very good at delayed gratification?
But then, I do finish quilts, and not just start them, so I don't think it's that. I think I just like that buzz of trying a new pattern to last as long as possible and not to be thwarted by caught threads. I came into this little experiment sure that glue would win, and that I would convince you all, but I can see it's much more a case of personal preference. You decide which parts you love and hate, what keeps you stitching for longer, and stick with that (or swap it around if you're so inclined!) For now, I'm sticking with my glue and my pre-cut papers, but I'd love to hear your thoughts! On which side of the basting debate do you sit?
Next time, we'll talk about stitching!
